GW2 jumping puzzle guide for Sapphire Sanctum, Garnet Sanctum, and Emerald Sanctum jump puzzles in WvW Borderlands. These puzzles are also called Mistwrought Vaults.Full explanations and video walkthrough are provided. All three achievements are referring to the jumping puzzle on the NW portion of each borderlands. The puzzle is identical for every borderlands but each provides a separate achievement. Note that since this is a jumping puzzle in WvW, you can expect some griefing by enemy players. Not all enemy players are hostile as some are just trying to finish the puzzle and may not attack you unless you draw first.
Puzzle Start
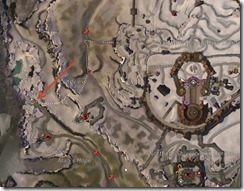
All three puzzles are identical and therefore start at the same location. There is a cave at the indicated location.
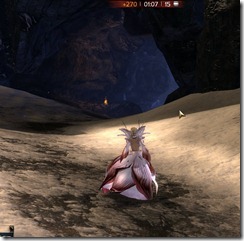
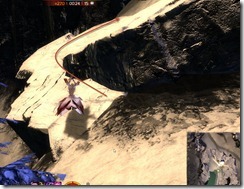
Enter the cave and take a left as soon as you can. You will see a waterfall but don’t jump down yet! Instead, follow the path and take a path to get up.
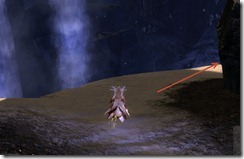
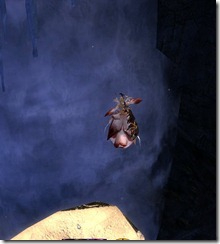
Once you make it to the way to the top, you will want to take a big leap of faith and jump down towards the waterfall. Don’t worry, the jump isn’t hard and there is something to catch you behind the waterfall.
Puzzle walkthrough
You will need to acquire two sections of a key: top half and bottom half and then unlock a door not far from the entrance. There is a way to quickly get the bottom half of the key once you have the top half if you can make the jump. Otherwise, you will need to start from the waterfall again for the bottom half but luckily there is a shortcut available.
Top Half of the key
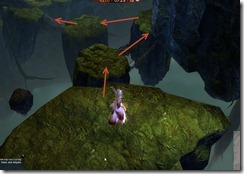
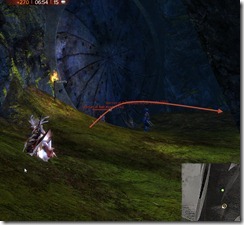
As soon as you land, make these jumps. The jump to the big log is a bit sketchy so try not to fall off.
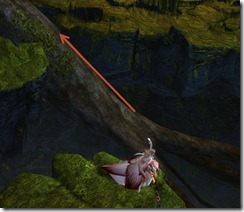
Once you are on the log, follow it up and make this jump here.
On your left you will see the vault door that you can open once you have both sections of the key. Hug the left wall as there are some oozes on the right that you can skip if you hug the left wall.
Make this jump here and then jump down the hole at the end.
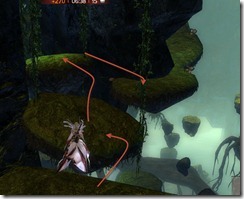
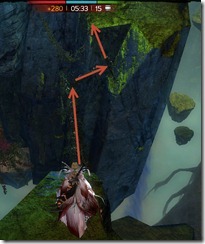
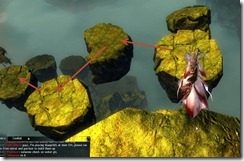
Falling down will take you to this rock here, and then you can make the following jumps. Beware that the first jump is not easy and you may fall down into the water and have to start over. Use swiftness here if possible.
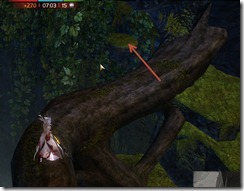
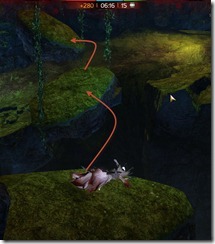
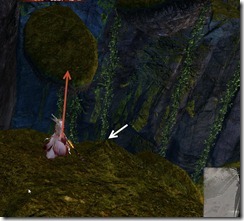
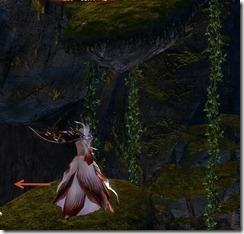
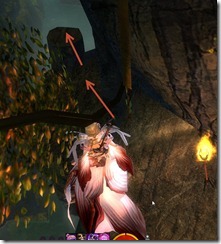
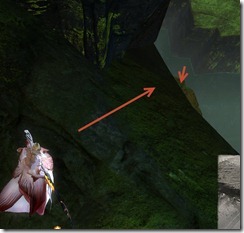
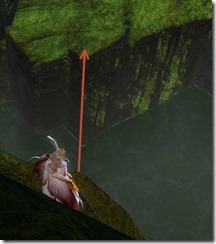
Keep following the rock platforms. There are two jumps along the way (near the end) that are worth mentioning. The first is this jump on the picture below to the left. You will want to jump from where the red arrow is rather than the white arrow as the white arrow is actually a longer jump that you may not make it. The second is this jump soon after. You won’t make it to the rock at the top as it is too far. Instead, jump to the ledge at the left.
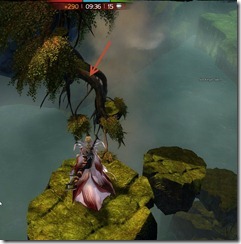
At the end of the ledge is this super sketchy vine that you will need to cross and that should bring you to the chest for the top half of the key.
Bottom half of the key
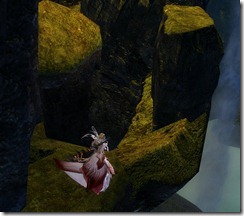
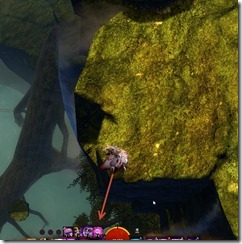
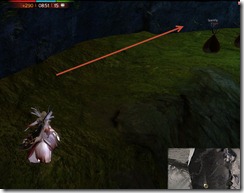
There is a way to get to the path for the bottom half of the key quickly from the chest for the top half. It involves making this jump. It is a tricky jump that most people simply edge themselves off the cliff to land on the branch below. You can do this as well but beware that you may fall through the crack between the branches.
What worked for me is to simply turn myself around and then drop down. This should land you on the branch. Once you are on the branch just follow it to the cave.
If you didn’t make that jump.. read here under the spoiler tags for a shortcut to make it back. You will need to start again at the waterfall.
| Spoiler Inside | Select Show |
|---|---|
|
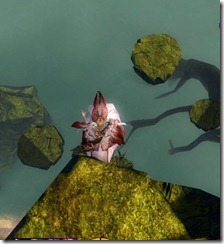
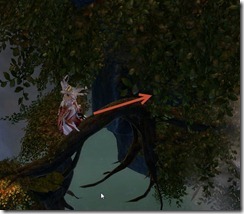
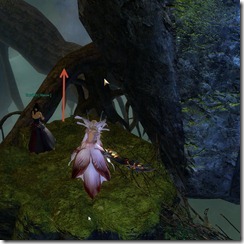
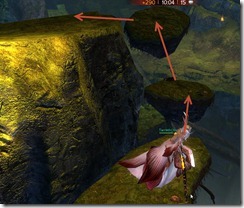
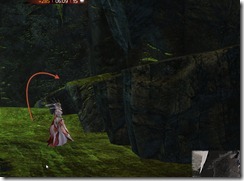
Once you are past the waterfall and the sketchy vine that you need to run across, you will want to jump on the tree branch to your right and follow the small rock platforms up. Once you are at the top, make these jumps. The last jump here is super tricky as you will need to make this jump to the branch. Use swiftness if you don’t feel confident about this jump. If you fail this jump, you will need to start over. If you made this jump successfully, you will be back on the path for the 2nd half of the key. |
|
Traverse through the cave, make these jumps and then jump through the rock pillars to make it across the canyon. Once you are across, kill the oozes on the other side and then run to end of the ledge
Once you reach the end of the ledge, slide down and hopefully you will land on the rock outcropping.
Then make this jump to the otherside. The jump is easier than it looks.
Once you are across, you get up to the top by jumping on the small rocks.
Once you have both halves of the key, just run to the Mistwrought Vault door you encountered earlier on your way to retrieve the top half of the key.
Archived Disqus comments