A guide to defeating Berg, Zane, and Narella, aka the Bandit Trio, who act as the second encounter in Salvation Pass. Guide was created in collaboration with DUNSTAN.8529 from [MOB].
Contents
General Information
- HP: Berg: 6.9 mil, Zane: 5.9 mil. Narella: 4.9 mil.
- Enrage Timer: 9 minutes
- Group Composition: No strict composition requirements but we found it is helpful to have the following classes
- Staff Tempest – They are able to stand on the platform behind Narella and basically nuke her down away from all the chaos
- Reapers – Epidemic is great for clearing out adds when fighting Narella. Especially handy when you are doing the Environmentally Friendly achievement.
Video (Healing Druid PoV)
Video from Disorganized Crime showing the Bombardiers/Mortars
General Mechanics
Positions
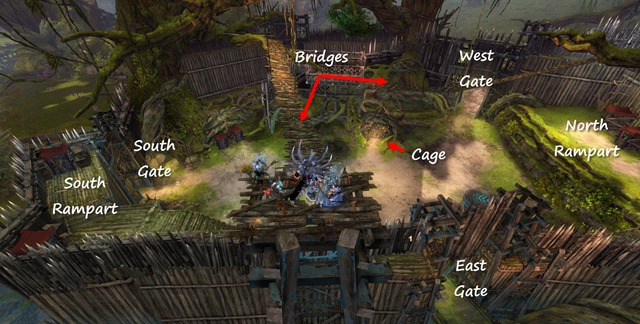
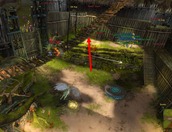
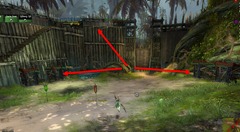
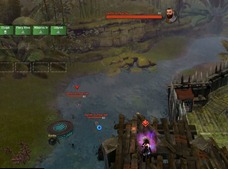
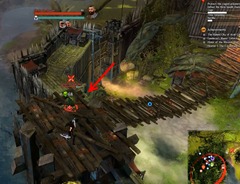
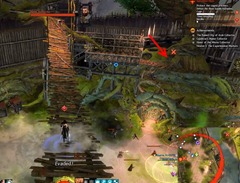
The fight arena is inside a fort with 3 gateways. Most of the fight occurs inside the fort but players also need to go outside the fort to deal with certain mechanics. There are two ramparts, north and south along with two wooden bridges above. It is important to familiarize yourself with the various locations so you know where the bosses and the environmental weapons are for the fight.
Timer
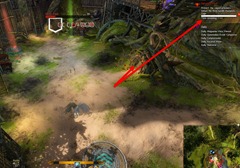
This fight is based on a timer with certain events happening at fixed times. To see the timer, check the top right corner of your UI. The times below represent how much time is remaining before the encounter enrages/fails.
| Time | Event | Location |
|---|---|---|
| 6:50 | Berg | East Gate |
| 6:25 | Bandit Saboteur | West Gate |
| 5:23 | 1x Bandit Bombardier | Outside Launch pad |
| 4:50 | Zane | South Gate |
| 4:23 | 1x Bandit Bombardier | Outside Launch pad |
| 3:52 | Bandit Saboteur | West Gate |
| 3:21 | Bandit Saboteur | East Gate |
| 3:21 | 3x Bandit Bombardier | Outside Launch pad |
| 2:50 | Bandit Saboteur | West Gate |
| 2:47 | Narella | West Gate |
| 2:20 | 2x Bandit Bombardier | Top of fort (bridges) |
| 2:20 | Bandit Saboteur | South Gate |
| 1:50 | Bandit Saboteur | South Gate |
Pre-Fight Assignment
- You need one player assigned to do the Bombardiers/Mortars with a second player acting as backup for the third wave if necessary.
- You need another player responsible for going after the saboteurs and breaking their breakbar.
Cage
There is a cage in the middle of the fight arena where the bandits are holding the prisoners. Your goal is to prevent this cage from being destroyed while fighting off waves of bandits and the three bosses. Pretty much every bandit will try to attack the cage if not aggroed on a player but you have to pay extra attention to the Bandit Saboteurs and the bosses’ attacks which can significantly damage the cage. Additionally, the sapper bombs you get from the Bandit Sappers can also damage the cage so do not throw them near it.
If the cage gets destroyed, the encounter fails so make sure you keep track of all the Saboteurs and position the bosses well so that their AoE attacks are never directed at the cage. This is more of an issue with Berg and Zane.
Bandit Snipers
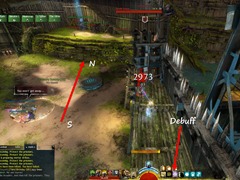
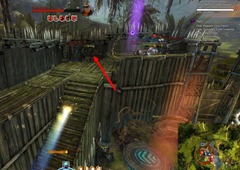
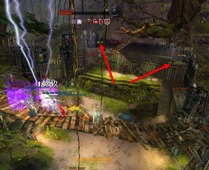
Bandit Snipers spawn immediately when the fight encounter starts. They spawn on the North/South ramparts and also on the two bridges above. Raid groups are typically split here to deal with the various bandits. Bandit Snipers apply a stacking debuff on the players they target and respawn \~4 minutes after they are killed. They have a massive range and do not target the cage since players are always in range of them.
- 2 players can deal with the snipers on the South rampart (basically right below the raid starting point)
- 3 players can deal with the snipers on the two bridges
- The other 5 can deal with the sappers at the bottom and then the snipers on the North rampart.
Environmental Weapons
The fight is designed around environmental weapons you can use to assist you in the fight against the three bandit bosses.
- Berg is susceptible to Beehives
- Zane is susceptible to Caged Wargs
- Narella is susceptible to Oil Kegs
Beehives
There are 8 Beehives located around the fort. Hitting them causes them to drop to the ground where they can be picked up. You only need a couple Beehives (4-5 at most) since Berg goes down fairly quickly and the effect does not stack in intensity. Collect the Beehives by dropping them near the Eastern gate in preparation for Berg’s spawn. Drop them by switching weapons.
Caged Wargs
There are 6 Caged Wargs near the South gate and 2 half way up the North rampart. Since Zane spawns at the South gate, you will find the 6 Wargs located near to the South gate to be more effective.
Oil Kegs
There are 5 Oil Kegs scattered around the fort. Unlike the Beehives, it is essential your team grab all 5 and drop them near the West gate near to where Narella will spawn.
- One spawns at the corner of the South rampart
- Two spawns on the North rampart
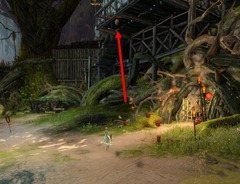
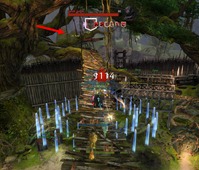
- Two spawns in the big tree between the two wooden bridges up top.
Bandit Saboteurs
Bandit Saboteurs spawn at specific time intervals and must be dealt with as their bombs deal about 50% of the cage’s health. The first Saboteur spawns with 6:25 left on the clock. The second one doesn’t spawn until 3:52. After that, one spawn approximately every 30s.
| Spawn | Time | Gate |
|---|---|---|
| 1 | 6:25 | W |
| 2 | 3:52 | W |
| 3 | 3:21 | E |
| 4 | 2:50 | W |
| 5 | 2:20 | S |
| 6 | 1:50 | S |
To spot these Saboteurs, you must have the Nuhoch Stealth Detection Mastery as they are in stealth. They will head directly towards the cage, ignoring players. Once they get to the cage, they will gain a small breakbar and will start to plant a bomb next to it. All you need to do is to break their breakbars and they will stop planting the bomb and aggro onto players instead. In other words, you don’t need to waste DPS killing them before they arrive at the cage; just have one person responsible for breaking their breakbars and they will become “harmless”. Their breakbar is about 200 and you have 10s to break it.
Bombardiers/Mortars
| Spawn | Time | Number | Location |
|---|---|---|---|
| 1 | 5:23 | 1 | Outside launch pad |
| 2 | 4:23 | 1 | Outside launch pad |
| 3 | 3:21 | 3 | Outside launch pad |
| 4 | 2:20 | 2 | Top of the fort |
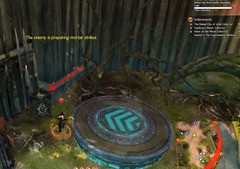
Bombardiers spawn at fixed times accompanied by an announcement on the screen. You have \~15s after the announcement to get to the location where the Bombardiers will start setting up their Mortars. You do not need to kill the Bombardiers; just break their breakbars (about 200)! If you fail to break their bars in time, they will finish constructing the Mortars and you will need to destroy the turrets to prevent them from shelling the players inside the fort. The Mortars will continue to fire even after the Bombardiers leave them to join the fight inside.
The first three waves of Mortars are always right outside the fort, near the jump pad that you use to get to the top of the fort to start the fight. Only a single player with good CC skills is needed to do them but, for the third wave, two players might be needed to break all 3 breakbars. To get to the Bombardiers, simply use the jump pad next to the South rampart by grabbing a bomb from the crate nearby and launching yourself with it by throwing the bomb onto the pad with your Special Key.
- Daredevils can break all 3 bars by themselves by using, 2x Headshot, 1x Impairing Daggers and 1x Impact Strike
- Revenants can use Surge of the Mists for individual bombardiers and Jade Winds to hit all 3 at once on the 3rd spawn
The fourth wave spawns on the 3rd and 4th levels of the fort. One of the Bombardiers spawns at the exact location where you get thrown up to when you use the outside launch pad at the start of the fight. The other Bombardier is located on top of the small structure alongside the Western wall of the fort and can be glided to from the previous Bombardier’s location.
Bandit Adds
Starting at 7:08, bandit adds of various types will start streaming in through the gates. There are Bandit Clerics, Bandit Deathsayers, Bandit Brawlers, Bandit Asssassins, and Bandit Sappers. Bandit Sappers are quite helpful as they throw sapper bombs to you (like in the Sabetha fight) which you can throw back at the adds for massive damage (the sapper bombs don’t do as much damage to the bosses). Be careful not to throw the sapper bombs towards the cage as doing so will damage it and accelerate a raid wipe.
The adds won’t be too much of a hindrance until Narella spawns. You want to mop them up quickly between each boss spawn as too many of them roaming around can cause some serious damage to the raid/cage, especially when combined with Narella’s attacks.
Boss Mechanics
Berg
Berg is a hammer wielding bandit with a very large cone-shaped AoE. He is probably the easiest boss mechanically and has 6.9 mil HP. Berg arrives at 6:50 with a horn sound announcing his arrival at 6:55. You can either dodge his telegraphed hammer attack or break his breakbar to stop the attack. Either way, it is very easy to dodge as long as you are not knocked down by the adds. Keep Berg at the door and face him away from the cage to prevent his big AoE attack from reaching it.
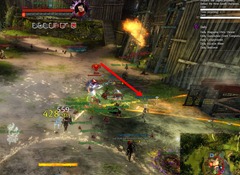
Berg is susceptible to the Beehives so you will want to throw them at him to do extra damage. Beehives are a ground targeted AoE which you can aim and throw. Beehive damage does not stack, it simply refreshes the previous Beehive debuff’s duration so you don’t want to throw them all at once. Space out your throws and, for more damage, run next to Berg to throw the Beehives at him.
Zane
Zane is much like Kernan from the Sabetha fight. He spawns at 4:50 with a horn announcing his arrival at 4:55. He has an identical 3 hit shotgun attack which starts off narrow and increases in width. In addition, he will teleport to the furthest person within range. To prevent him from moving around too much, you will want to have everyone stack on him so he does not teleport randomly and get too close to the cage.
Zane has 5.9 mil HP and is susceptible to Tortured Wargs. Release the 6 Wargs closest to the South gate once Zane spawns and they will go after him or any adds with bleeding condition. You don’t want to release them too early as they only hang around for \~45s after being released.
Narella
Narella is the last bandit boss and has the least HP at 4.9 mil. She pops up with 2:47 left on the timer. Her main attacks are a flak shot similar to Sabetha that leaves fire on the ground and a flamethrower auto attack. In addition, she will also spawn fiery tornadoes that will suck nearby players in and spin them around. The tornado attack is fairly deadly as it can spin you into bad spots like the flak fire or AoEs from the adds.
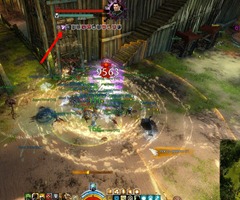
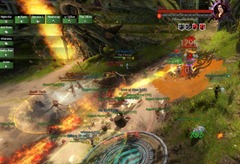
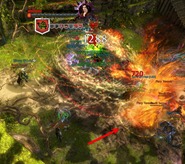
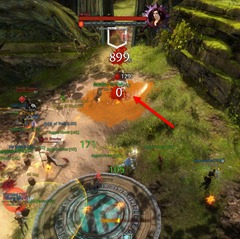
Narella is very susceptible to the Oil Kegs. If you throw them at her, they will break and leak an oil slick AoE which can be ignited at her feet by using any burning skills. The ignited oil will deal massive damage so your party can focus more on avoiding the flak shots and fiery tornadoes and on staying alive versus the massive amount of adds that will now be attacking it. Much like the Beehives, you do not want to throw all of the Oil Kegs at her at once. Instead, you will want to space out the Oil Kegs to make sure that there is always an ignited oil slick AoE below her to keep the damage up. If done correctly, Narella should go down very quickly. It is useful to keep some players in melee range of Narella to ensure that she stays within the ignited oil.
A nice trick for killing Narella is to stack staff Tempests on the ledge above her so that they can rain down their AoEs without having to worry about the fight mechanics. Be aware that fiery tornados can spawn on you while you’re up there. Necromancers can also use Epidemic to quickly clean up the adds, making the fight much easier. Lastly, don’t forget the final round of Bombardiers which spawn shortly after Narella does and keep an eye out for the Saboteurs which spawn at 2:20 and 1:50 as failing to deal with these recurring mechanics can cause last second raid wipes.
Acknowledgments
- Special thanks to DUNSTAN.8529 from Disorganized Crime [MOB] and rest of the [MOB] members for assistance with timings and information regarding Bombardiers/Mortars. Check out their Salvation Pass raid guides here .
- Special thanks to members of Zero Quality [zQ] for the kill and specifics regarding the various mechanics.
Archived Disqus comments
Bloodhammer
Looking for a gamer girls for a play? http://ow.ly/10iAqt )
Lennart Buit
A nice technique as revenant to take out the three bandits is by using Surge of the Mists on the first two (just make sure to go in a straight line), and use Facet of Chaos (elite dragon thingie) for the last one. That way you don’t have to take shiro and can just go jalis :>!