GW2 Mursaat Overseer raid boss guide. This is the second boss of the Bastion of the Penitent raid wing.
Contents
General
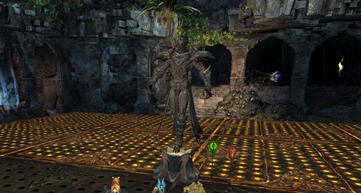
Mursaat Overseer is the second boss of the raid wing and is more of a puzzle boss with the fight area similar to a chess board. Mechanically simple but bad execution can wipe the raid.
- HP: ???
- Enrage Timer: 6 minutes
Video
Challenge Mode
In Challenge Mode which you activate by using the Challenge Mote, it has one additional mechanic.
Blue squares will spawn every 30 seconds (0:05 and 0:35) on the timer. These blue squares are different for each person in the raid and 3 blue squares will spawn across the room. You have to get into these blue squares and stand in them until the blue disappear or you will die instantly. Movement skills like Blink or Lightning Flash are hugely helpful in this mode.
This one additional mechanic can make the fight much harder with some RNG elements. Sometimes the lethal spikes and blue squares can line up in the same squares. You will need to either find a blue square without spikes or try risk timing it correctly (i.e. waiting for the spikes to go off and then blink into the blue square).
Video
Mechanics
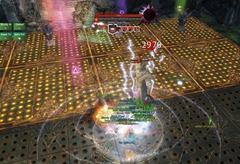
Mursaat Overseer fight is basically a chess board made up of 4×4 squares. This fight is divided into four phases with each phase being every 25% HP of the boss. During these phases, a new pattern is formed every 10 seconds that has lethal spikes popping up at various squares. Your goal is to kill the Overseer while avoiding these lethal spikes and dealing with the four Jade Scouts that move along the chess board from one end to the other. In addition to the spikes, there will be Enemy tiles marked as yellow that pulsates damage and poison stacks on players that can be claimed back.
Lethal Spikes
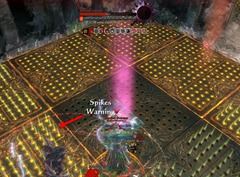
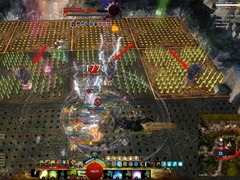
These spikes pop up on certain squares on a fixed pattern. New patterns are formed every 10s. However, every 25% the patterns are reset. If you get hit by these lethal spikes, you are dead instantly with no downed state. The squares glow greenish with small spikes before the larger lethal spikes pop up so you will have time to dodge/move out.
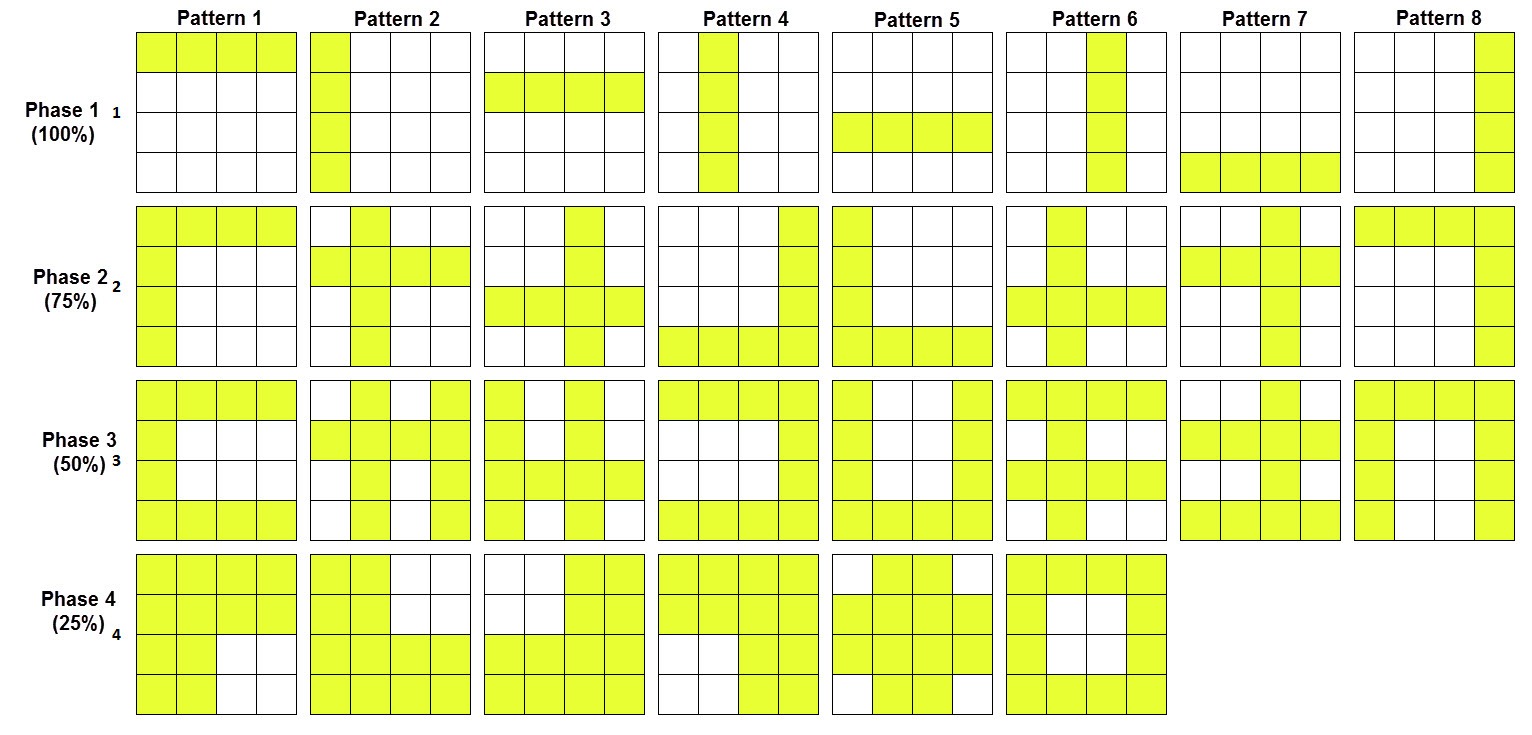
Here is a chart of the lethal spike pattern made by /u/ Mailliwchess , if your group have high DPS and push Mursaar Overseer to the next phase quickly, the remaining patterns for that phase will be skipped. Yellow squares represent the squares occupied by the lethal spikes and white squares are safe squares.
As for tanking, you can place Mursaar Overseer exactly in the middle and have your group move to the safe squares as they pop up. This will minimize movement and maximize DPS. For Phase 4 Pattern 5 you can use the Protect special skill to avoid moving.
Enemy Tiles
Enemy Tiles are yellow overlay on top of the squares. Initially the back 8 tiles have this but as the Jade Scouts move forward, they will “claim” the tiles and mark them as Enemy Tiles. Enemy Tiles have a pulsating AoE on them that deals fairly significant damage and put poison stacks on you that can down you quickly. To remove the Enemy Tiles, you must use the Claim special skill.
Special Skills
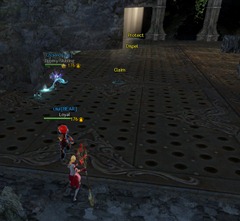
There are three special skills that players can pick up before the fight. Once all the special skills has been picked up, the fight starts. These special skills show up as skills on your special action key and give three players in your raid additional responsibility.
- Dispel – Removes the shield on Jade Scouts to make them vulnerable and stun them briefly. This has a 1500 range and you just target the scouts with the red circle and dispel them.
- Claim – Claim has a passive and an active function. Passively, the person with the claim skill becomes fixated as a tank for the duration of the fight (or until they are killed). Actively, they can use this skill every 7 seconds (affected by alacrity) to claim an enemy tile for the group
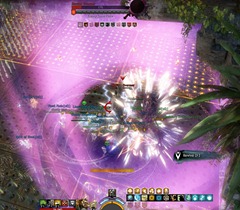
- Protect – This skill has a 3 minute cooldown (affected by alacrity) and put down a bubble similar to the Guardian Sanctuary skill. This is a bubble the entire squad can get in to protect themselves from the Lethal spikes. Since this skill has such a long cooldown, you can only really use it once per fight. This should be saved for the spike pattern on Phase 4 Pattern 5.
Jade Scouts
There are four Jade Scouts that start their journey from the back of the room and slowly move their way to the front of the room. They have a shield initially that makes them immune to damage and must be removed with the Dispel special skill. Once they get their shield removed, they become stunned briefly and can be damaged. Once they are killed, however, their HP regen back to full slowly and they continue down the trek. They will repeat this until they reach the other end. During their trek, they will “claim” any square they pass through and put the Enemy Tile AoE on it. The player with the Claim special skill must reverse this to prevent your team from taking damage.
Jade Scouts turn into Jade Soldiers as soon as they reach the other end. It has a bigger pulsating AoE and will move towards your raid. You can cleave them down with the Overseer but be aware of the Jade Explosion AoE (\~10k damage) once the Jade Soldier dies. You can prevent this AoE from happening by claiming the square under the Jade Soldier. Once a Jade Soldier is killed, a Jade Scout will spawn in its original place at back of the room and start the trek again.
A strategy we use to deal with the Jade Scouts is to ignore the scouts on the outer edges and just cleave down the middle 2 scouts. The outer edge scouts will turn to soldiers that we deal with later while the middle 2 won’t ever reach the other end with all the cleaves.
Acknowledgements
Special thanks for members of the [zQ] progression team and Rubik for writing up the initial draft of the guide.

Archived Disqus comments
Blippedyblop
Polymock!
The Tank
Whats the aggro mechanic for the Soldiers? In our runs it seems to be whoever was closest to them
Archi
this fight/puzzle looks relatively boring :/
ppp Sely
hey dulfy, i think the pic of lethal spike pattern has some mistakes. when the boss hp in 50-25%, i had never seen the P1 or P4 or P8 . I draw some pics ,can u have a check? https://uploads.disquscdn.com/images/2a1788dec782735f25b7db93b17ba313edb5b400af915f4897fdfaf27f42cc05.png https://uploads.disquscdn.com/images/612e2e44a8cc55e1b4b5ba9475598a8ac22dacbb3b5a76aac0ee3512e4e5a85e.png https://uploads.disquscdn.com/images/bfae42c48b33796dff28912aece8728c2ec406aef45b67ba522d4a515b15d681.png https://uploads.disquscdn.com/images/379b589e24c91a22b3dfbe3e4575fb3ee093f303bb5aea51bdfd28e14452ab72.png https://uploads.disquscdn.com/images/793be4ad3e93bfa1ef4c04f1301b99e3e6f5e83ad337593c5962c47e0013650c.png
Vet Player
Hey Dulfy, as always, your guides help us to go through all great content Guild Wars 2 has.
Whenever you can, please, add these Wing 4 guides to that top menu/dropdown list for us to quickly find them.
Maybe you want also to revisit guides for Wings 1-3 and create separate entries for each:
GW2 >\ Raid Guides >\ Forsaken Thicket >\ Spirit Vale >\ Vale Guardian\ Spirit Woods\ Gorseval the Multifarious\ Sabetha the Saboteur\ Salvation Pass >\ Slothasor\ Prison Camp\ Matthias Gabrel\ Stronghold of the Faithful >\ Siege the Stronghold\ Keep Construct\ Twisted Castle\ Xera\ Bastion of the Penitent >\ Cairn the Indomitable\ Mursaat Overseer\ Samarog\ Deimos
Check https://wiki.guildwars2.com/wiki/Raid on official GW2 Wiki.
Thank you!
StacyAyers
I’ve profited \$104000 in last twelve months by working from my home and I did it by working part-time for 3+ hrs daily. I followed a business model I was introduced by this web-site i found on-line and I am excited that i made so much extra income. It’s so user-friendly and I’m just so blessed that I found out about it. Check out what I do… http://s.id/3Bm
Powah666
Phase 3 wrong patterns. U killed me. Please update, there are many updated scheme around, stop killing people!
Themonio.9635
Hi!
My nick is Themonio and i’m one of those brazilians playing GW2. I’ve seen that in our community (br) we don’t have a guide like this (at least, not that i’ve seen) – explaining in words the mechanics of the raid – and i wish to know if you could give me permission to translate it for our foruns.
Thanks for the attention! The guide is, in the best words in GW2: “SHINIIIE”!