GW2 Lessons from the Sky achievement guide with a list of locations of the Sky Crystals needed to complete this Bazaar of the Four Winds achievement.
NOTE: This guide is outdated for Festival of Four Winds as some of the sky crystal locations have being moved. Use this one instead.
Note: There are 52 Sky Crystals in total but you only need to find 40 to complete the achievement. This guide has 43 crystals listed so this means that you can skip 3 crystals you think are hard to reach. Once a crystal has being collected, you cannot collect the same crystal again via overflows/different characters etc.
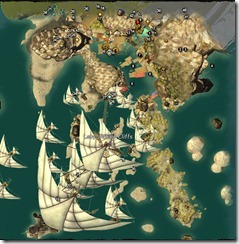
It is best to watch the video and follow along since the map has a lot of vertical layers. Nonetheless, map of the 43 crystals and written walkthrough has being provided for those unable to view the video for whatever reason.
Video Guide
Map
NOTE: This guide is outdated for Festival of Four Winds as some of the sky crystal locations have being moved. Use this one instead.
Sky Crystal #1
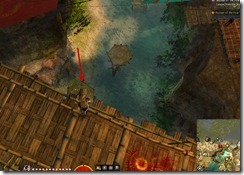
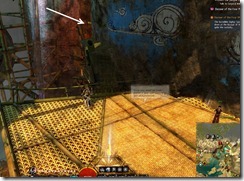
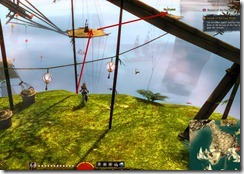
Jump from the platform above to grab this crystal, you may need to backtrack to where you jumped off to get the second crystal
Sky Crystal #2
Consider this one a freebie
Sky Crystal #3
This one is on top of this stone pillar and you will need to use #1 Assisted Leap nearby to get up there.
Sky Crystal #4
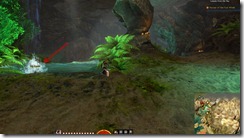
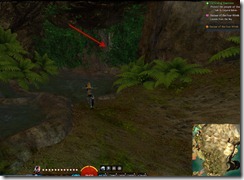
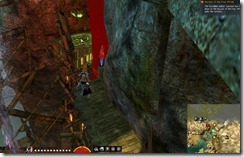
This one is just behind the stone pillar past the waterfall. You will need to use Light Dash (#2) and control how far you dash by pressing #2 again.
Sky Crystal #5
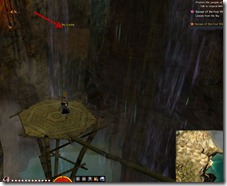
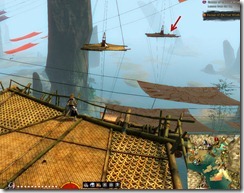
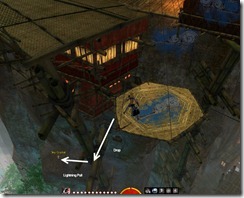
After you exit the waterfall, keep following the path and then look to your left. You should see two platforms out in the air. You will need to grab Lightning Pull nearby and then pull yourself there.
Sky Crystal #6
From #5, leap back a platform and then jump down to the platforms below. You will find #6 to the right of that platform.
Sky Crystal #7
Leap back from #6, and then leap onto the rock to the left of the landing platform via a manual Lightning Pull
Sky Crystal #8
#8 is just behind you. Leap back to that Lighting platform first and then leap there manually via Lightning Pull.
Sky Crystal #9
Drop down on the ground and go back to the Light Dash bridge. At the corner, look up and you will see #9 on top of some bamboo structure. You are going to #1 Assisted Leap to that location via series of Leaps.
Sky Crystal #10
Jump down to the Light Dash bridge and go back the location you were before you jumped on the Lightning Pull platforms for #5. Now you are going to drop down very carefully to grab #10.
Sky Crystal #11
After grabbing #11, drop down and run back to where you were. Now instead of dropping down go up to the Wind Adept. Grab #1 Assisted Leap near him and get this crystal via that leap.
Sky Crystal #12
Now you are going to use #3 Lightning Pull and do a manual pull to this platform and then use a series of #1 Assisted Leap to get this #12 Sky Crystal. This part is a bit tricky and you may fall to your death.
Sky Crystal #13
Lightning Pull yourself back to Wind Adept and cross a couple of platforms with #1 Assisted Leap. Now you will need to drop down to that bamboo structure and do a manual Lightning Leap or jump to #13 Sky Crystal.
Sky Crystal #14
Below you is #14, you can either drop down or use Lightning Pull manually to drop yourself there.
Sky Crystal #15
Drop down to the ground and run all the back. This time cross all the platforms next to the Wind Adept and make it to the other side. Look to you left once you arrive and Lightning Pull yourself over to #15.
Sky Crystal #16
Pull yourself back to the Lightning Adept and then cross over to the next tower. Keep going up that tower until you are at the very top. From there, you can do a manual Lightning Pull to get #16 on the wall.
Sky Crystal #17
Go back to where you were but this time instead of pulling to the left you will walk on to the end of the stick that is sticking out and then use Lightning Pull manually on the little house on the right. Then use #1 Assisted Leap to get up to the very top of that bamboo structure.
Sky Crystal #18
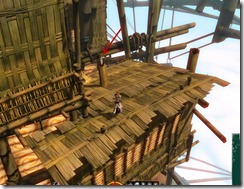
Don’t move from #17. You are going to use Lightning Pull to manually pull yourself to this little house a bit far away and then use #1 Assisted Leap to get on the roof to grab #18.
Sky Crystal #19
You can now leap back to Lightning Adept and cross some towers. #19 is inside this little basket there in one of the towers so just keep an eye out. Use #1 Assisted Leap to get up to the basket.
Sky Crystal #20
Go up the tower where #19 was located, at the very top, you can do a Lightning Pull to get to #20. Give yourself a pat in the back as you are halfway there!
Sky Crystal #21 (Can skip)
Be warned that this is a very hard sky crystal to get to. Since there are 43 crystals in this guide, you may skip this one and save yourself some frustration. Go back to the same location you pulled from for #20, now instead of pulling right, pull left using Lightning Pull.
Once you land there, go to the very edge of the Bamboo structure and then aim your Lightning Pull here. If you are lucky, you will land on that Bamboo structure. From there, you can use #1 Assisted Leap to get to the roof of the house with the Sky Crystal.
Sky Crystal #22
Exit out using Sky Docks Waypoint. Make sure you have full charges of #1 Assisted Leap if possible (go back to Lightning Adept if you need to refill). Having 10 charges allow you to grab #22, 23, 24, and 25 all in one go.
Go to Kookoochoo’s stage and then use #3 Lightning Leap to get atop the small windmill.
From the windmill, use #3 to pull to the structure to your right then walk along the beam to where the lantern is. From the lantern, you can use #1 assisted leap to grab #22.
Sky Crystal #23
From #22’’s location, do a #3 Lightning Pull and that should get you to #23
Sky Crystal #24
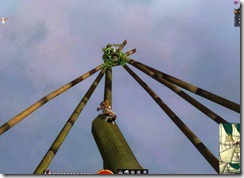
From #23, use #1 Assisted Leap go get high up on the big beam supporting the spinning fan. From there you can use #1 skill a couple more times to get to the Sky Crystal.
Sky Crystal #25 (Can skip)
Drop down to #23’s location from #24 and then pull yourself back to #22. From #22, pull yourself to the structure below #25. From there, try pull to up top where #25 is located. If you are lucky, you will land on top and can grab #25. If you are not, you will most likely fall to your death. This last pull is not very easy and may take a lot of practice.
Sky Crystal #26
Waypoint back to Sky Docks, pull yourself to this structure and then you reach the tip use assisted leap to get #26.
Sky Crystal #27
Go back to Sky Docks waypoint and jump down on your right to the bamboo support below. There you will find #27.
Sky Crystal #28
Below #27 and a bit to the right is #28.
Sky Crystal #29
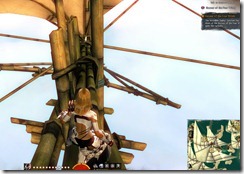
Cross the bridge to Zephyr Sanctum and on your left beside Scholar Ela Makkay you will see one of the “wings” of the flying ship. Make sure you have #1 Assisted Leap and #3 Lightning pull with you. If not you can find them on the ship. Pull yourself onto it and walk along length of the bamboo support. You will need to play with your camera a bit so you don’t walk off the narrow beam.
Sky Crystal #30
Keep following that narrow beam to the end and then pull yourself onto #30
Sky Crystal #31
Pull yourself onto the the slanted bamboo stick here and then use #1 assisted leap to get to the roof tops where you will find #31.
Sky Crystal #32
If you have some fall damage reduction, you can jump down to the orange platform and grab the Sky Crystal below it.
Sky Crystal #33
Walk on the narrow beams near #32 and then pull yourself to #33.
Sky Crystal #34
Waypoint back to Sky Docks. Make sure you have #3 Lightning Pull and then pull yourself to the platform here.
Sky Crystal #35
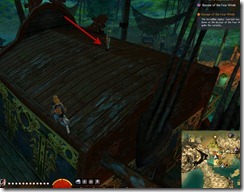
Waypoint back to Bazaar Docks and then grab this sky crystal on top of the ship.
Sky Crystal #36
Now make sure you have at least 1 charge of #3 Lightning Pull and then pull yourself to the platforms right next to the waypoint. You will need to pull across a couple platforms before you reach #36.
Sky Crystal #37
Drop down and near you is this sky crystal that is one leap away.
Sky Crystal #38
Not far from it is another Sky Shard on the wall. This one is a bit hard to reach and may require a bit of practice. You will need to land on a rock cropping halfway so you can leap higher next time and reach it. If you are out of #1 leaps, there is a recharge nearby.
Sky Crystal #39
Waypoint back to Bazaar Docks, take a left before the Light Dash bridge. You will find #39 one leap away on the left.
Sky Crystal #40
Jump down from #39, grab #2 Light Dash nearby and then go up the narrow beam. You will need Light Dash to pass the waterfalls but control your dash so you don’t overshoot and fall off.
Sky Crystal #41
From #40, pull yourself to the bamboo support on the wall and then leap to the Sky Crystal above.
Sky Crystal #42
Go back to Bazaar Docks Waypoint and then head towards the Light Dash bridge. Before you get to the bridge though, stop here and use #1 to leap onto the building roofs.
Once you get to the very top, you should see a Sky Crystal on the beam holding one of the Lanterns.
Sky Crystal #43
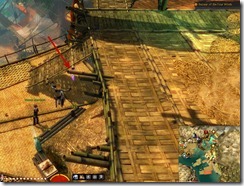
Go to Sky Docks Waypoint and then pull yourself on the roof near Evon. Go to back of the building, jump down and you should see #43.
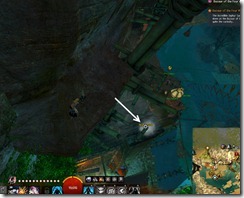
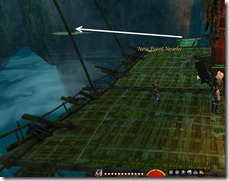
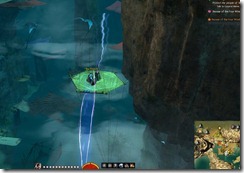
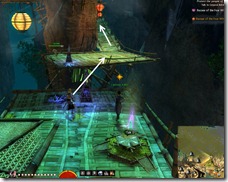
Archived Disqus comments
Relic
Thank god you did Sky Crystals already.
noggins
i was having trouble with sky crystal #10 and found it easier to get lightning pull and go back to the first bridges and use lightning pull to get over there
Aerinndis.2730
#10 I went over the fence and inched backwards right at the point the straight part of the rock and the curved part meet. At that point I very slowly went backwards until I just started to drop, hit my forward key as I went and landed on the ledge.
Tom
The fall at 6th crystal always kills me.
Dulfy
Do you have the 50% fall dmg reduction trait?
fullafaith2
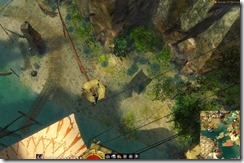
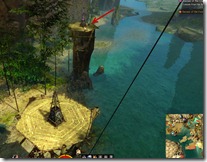
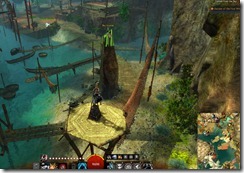
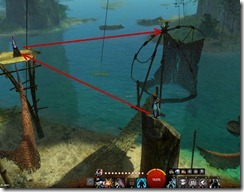
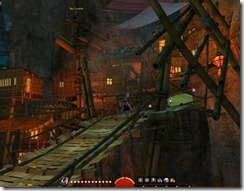
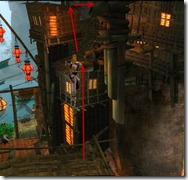
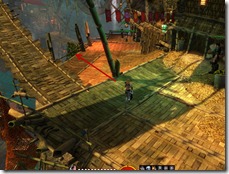
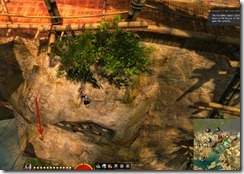
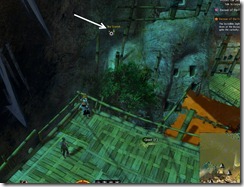
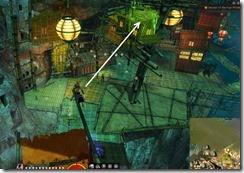
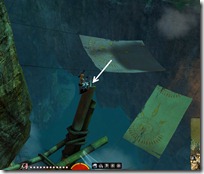
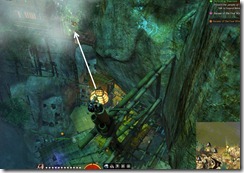
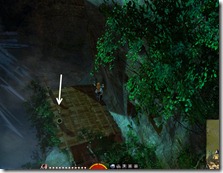
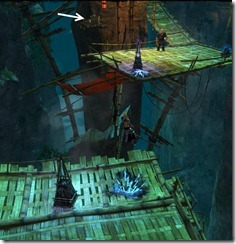
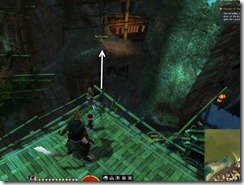
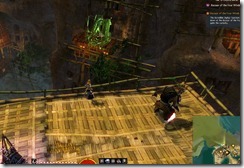
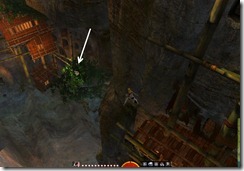
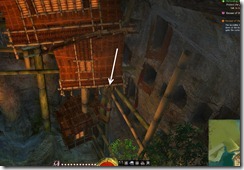
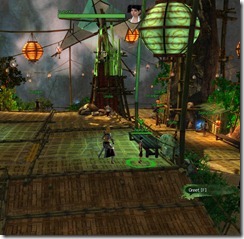
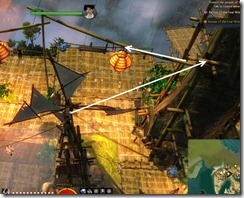
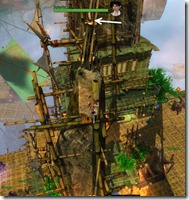
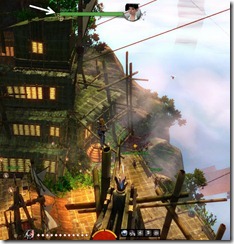
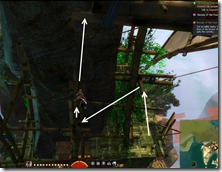
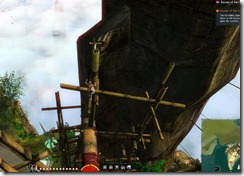
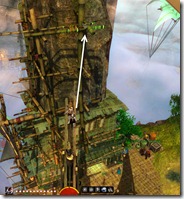
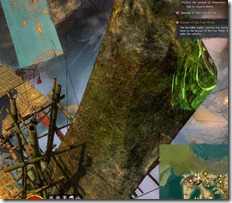
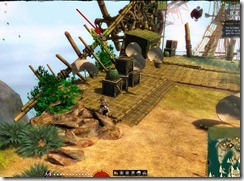
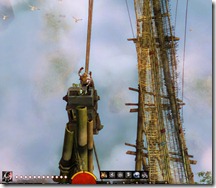
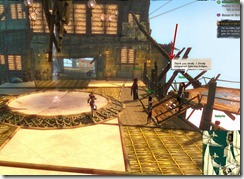
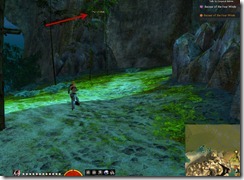
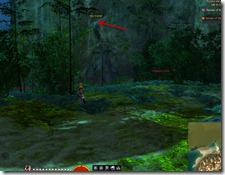
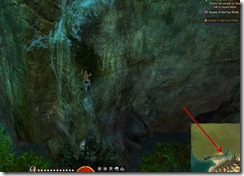
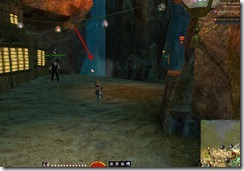
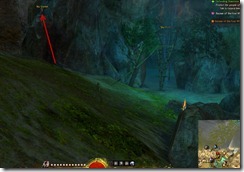
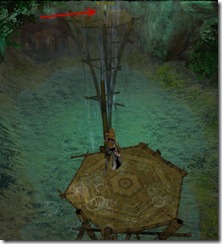
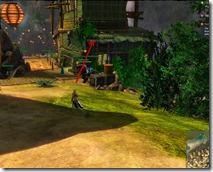
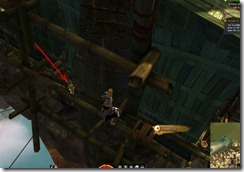
Here is how to get the 6th crystal without jumping down to death. Stay on the ground level & run from boats towards crystal location. You will see a crystal on a big rock with a small pole in front. Jump on pole, then use your lightning pull to the crystal. There are 2 more crystals (including dulfy’s #6) that you continue to lightening pull yourself to. Screenshots below to hopefully help. The guy with the target is at one & dulfy’s #6 is straight ahead.
Drigori
Can also just jump down from here :), this fall will most of the time not kill you even without the 50% dmg reduction trait. Can just jump down with a normal jump.
Aerinndis.2730
To clarify where to jump from at the start for crystal #6, go to the pole with the brown basket. Climb on the basket and use #1 to jump up to the top. From there the rock with the crystal is very easy to lightning pull yourself to and then to the others. I tried jumping down from above and died every single time so this was soooo much better. Thanks fullafaith2.
Drigori
Think i found some place ya do not have yet. I get there from 23. Jump to the cliff behind 23 and run up it and jump down.
Drigori
more, Jump down bellow Ellen Kiel
USS San Francisco
This crystal shown is actually right below crystal 41 in your guide. Just fall to the ground and it will be there
Curtyyy
A guildie and I were doing #21 and we found it to be easier if you use dash (#2) then the leap (#1) in the middle of the dash without stopping the dash and you would reach. You would do this after you Lightning pull across the first time. I hope that helps.
Rajani Isa
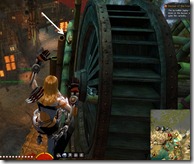
At Sky Crystal #12 – after you grab it, jump ON the waterwheel. You can then head in the cliffs along the bamboo to get another Sky Crystal (You are right over the area near #40 when you get it)
Sandro123
Thank you for making this guide, I am usually good at Jps but i struggled following your video its not as easy as it seems to be. I also invented my ways when i couldnt find some powerups
grimm
I did this one with the 50% less damage from falls. You need to start at the second one Drigori posted and you let yourself fall on the borders until you get to the large mesa.
Catherine Fowler
Dear Dulfy,\ We discovered on crystal number 21 that you can actually be on the bamboo branch below the one you had shown your toon standing on and it allows you to aim strait for the house instead of the leaves part of the bamboo tree. It made it MUCH easier to get to that section against the houses before the final two jumps up. Try it sometime, I think you will be most pleased. :3
Catherine Fowler
Oh and we also found out that mesmers can blink through the waterfall blockades as well. \^_\^
Aerinndis.2730
Thanks for that tip, Catherine! I made it to the section against the houses first try by going to that bamboo branch. Once I got up to next level I walked around to back of the house (hard to see in vegetation) and used #1 and hopped right up.
Mynthe
Has anyone tried to go for all 52 yet? Would be interesting if there was something special for those who got all of them.
Haros
I don’t think that there is any bonus to people who got all 52. I actually will have to double check every one because I’m not sure if I have 52 or 51
Myth
http://imgur.com/Xc26RWm use wind to jump on red circle spot, which you can actually stand on it. Use sun+wind combo to jump on the rock.
Credit to my teammates, they’re all awesome jumping puzzle solver.
Drigori
You can also get it this way. Start of by using 1 to get into the small stone, then ya launch up to marked area and hit wind once more. I did not mange to stand on second circle but if you are fast you will be able to hit 1 and get up
So
1. Land on stone
2. Launch up to higher stone
3 Before ya fall down hit 1 fast again and you will get up
Drigori
Forgot pic
Myth
Swiftness is recommended in second jump : )
Natleyn
NOTE: You can get 21 by going to the first spot, then combining skills 1 and 2 to long jump over there.
Flatbedotr
I concur got 21 with a 2 first and then using 1. Died a couple of times before using vids method.
Flatbedotr
For your 9 myself and guildmates got by using the lighting aspect ability. We just aimed for the huts behind where you landed.
Drigori
Found two more, use 1 to get up, then walk along it and can use 3 if you wish to land so you can just walk to the crystals.
Michèle Velthuis
No idea where you are standing tho o.o
Smoke In The Wind
This crystal is right behind KooKooChoo’s Fire Show.
Michèle Velthuis
That was just an air crystal I think o.o
Kody Boye
In regards to #27, I found a much easier way to do it. I wrote an article on my blog, since I didn’t want to clog the comment section with pictures. You can find that here: http://kodyboye.blogspot.com/2013/07/a-post-for-dulfynet.html
Hope this helps! Thanks for being such an awesome site!
Rhiannon Frater
You saved me endless deaths! Thanks!
Luthan
Found 13 a bit hard with normal jumps and even with lightning I somehow jumped “too far” and got moved a bit back and fell down… a few times. Normal jump with swiftness worked.
Luthan
Whats the easiest way near 22-25 to get the assisted jump buff again without walking back to near the other adept? Cause it needs a lot of tries… 10 are not enough when the jumps are not that easy and you need to try a lot… is there a buff crystal nearby?
Nai Zi Gei Wo Mo
For #29 you can also use Sun to blast yourself right below the sky crystal, then just leap up to the crystal with the Air, super simple, when you use the sun dont stop half way let it blast you to the edge.
Clocky
Awesome… lots of work but you broke your own work by hiding map on most picture. That’s sad.
Pingback: Gw2-Guide – Guide Le Bazar des Quatre Vents ()