GW2 Forbidden Honey achievement guide showing you how to find and destroy all 3 honeycombs in World 1 Tribulation mode of Super Adventure Box.
Note: It is strongly recommended that you do this with the Tough Customer World 1 achievement at the same time so you can hit two birds with one stop and get everything you need achievement wise in one go.
Video guide
World 1 Zone 1
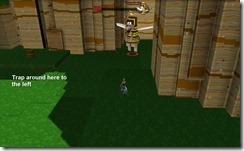
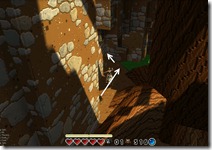
This honeycomb is after Checkpoint 4 at the next cloud save. You proceed as you would heading to the next checkpoint but this time you take a left instead of hopping on the tree to your right.
Now you will need to jump on that little rock and hug the wall tightly as there is a trap right beside you that you can trigger if you are not hugging the wall.
Once you are past that section, you will meet the Queen Beedog and defeating her afterwards allow you access to the Honeycomb. If you are doing this with another player, you can probably have one distract the Queen while the other sneak in and break the honeycomb. Becareful to not go too much to the left of the honeycomb as there is a trap around it.
World 1 Zone 2
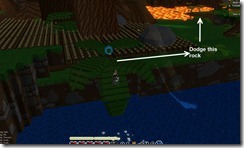
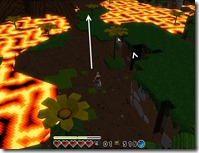
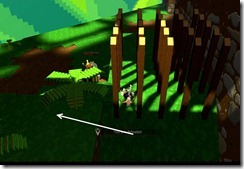
This honeycomb is located after Checkpoint 2. Instead of going up the tree, go right, dodge past the rock and follow the yellow flowers that will lead you close to the honeycomb. Most of the patch is fairly safe from traps until you get to the Queen Beedog.
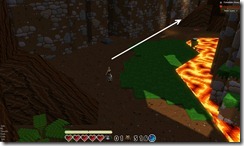
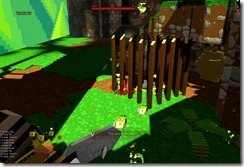
Now there are two traps you need to be aware at the Queen Beedog location. One of them is directly up the slope and the other one is right where the Queen is standing. The first trap is easy to avoid but you will want to remember the second trap when you go for the honeycomb and don’t move around too much while destroying it.
World 1 Zone 3
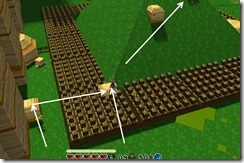
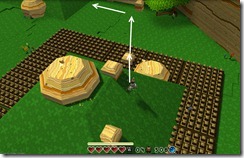
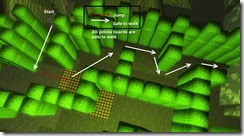
The last honeycomb is right before Checkpoint 1. After you hit the checkpoint, backtrack a tiny bit and you will find the entrance to the maze with the honeycomb at the end.
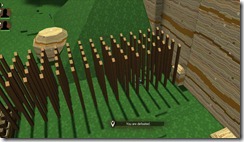
This is a full blown maze with some things to keep in mind
- Assume ground is lava unless otherwise specified
- Yellow boards are safe so always jump from one board to the other whenever you can.
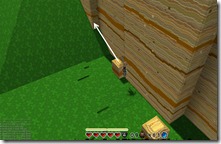
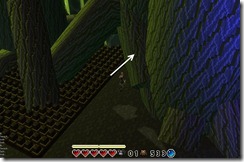
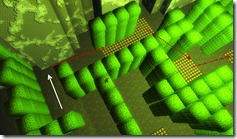
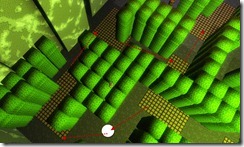
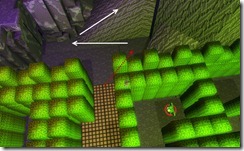
Here is how to navigate the maze, this was taken from a top down perspective with pictures provided by Cyrael Pelingar XI and Ginge of Jade Quarry.White arrows means you can walk over the area while red dotted arrows means you need to jump across.
At end of the maze you will encounter the Queendog guarding the last honeycomb you need for the achievement.
Special thanks to Cyrael Pelingar XI and Ginge of Jade Quarry for the pictures and the idea.
Archived Disqus comments
Azimuth
A tip for the “Invisible Pillar” for Z3’s honey
The false floor doesnt affect the camera (it will go through it). You can then stand on the edge of the yellow board and angle your camera below the false floor to find the “Invisible Pillar”. I found this to be a much better way than trial and error.
Cyrael Pelingar XI
I fell into the pit the first time and saw the pillar. After that, Ginge and I did just what you described to see where to jump to.
shodannet
I already knew when it came to the false floors that you could move the camera through them, so its what I did to try and find them. So when I first fell through the floor in the maze, I looked under the floor to gauge where its safe to walk or not. When I got to the hidden pillar section, looking under the floor easily showed how to get past. Kinda surprised they havent done the hidden pillar thing more often
Sic
A tip for 1-2 honeycomb. If you go to the checkpoint: (across from the shop, before the poison lilipads). It is easy to run back to the honeycomb by hugging the right wall. No traps as I recall.
CalmestChaos
if you climb the trees and reach the cloud on the platform with the jumping rock and lava in the middle, you can just go form the cloud save to the rock before the lava, and jump down to 2 monkeys whcih are guarding the entrance to queen beedog, easy and fast in 1-2 honeycomb
Pingback: This week in Guild Wars 2, 7-13 September | GuildMag ()