GW2 Rock Collector Firestone Shards achievements guides. Special thanks to Trad, Rubik and Lydia for their assistance with the guide.
Contents
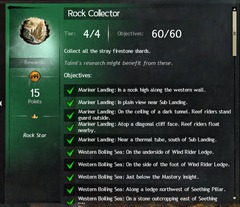
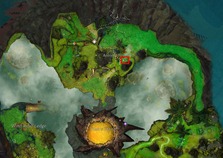
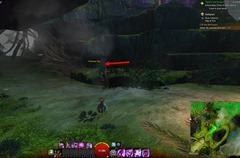
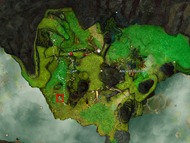
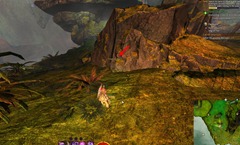
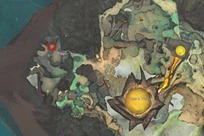
This achievement rewards you with 15 AP and the Rock Star title in return for collecting 60 Firestone Shards all over Draconis Mons.
- You absolutely need the Oakheart Essence Mastery to reach many of the Firestone Shards.
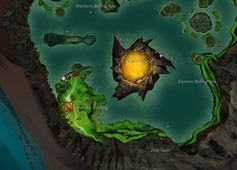
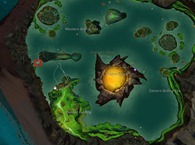
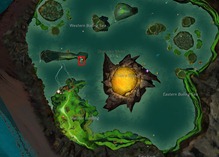
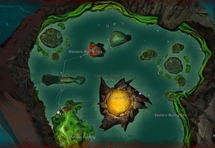
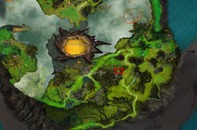
Mariner Landing/Boiling Sea
Video
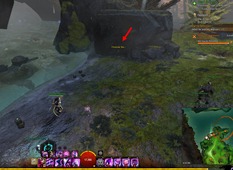
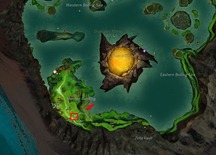
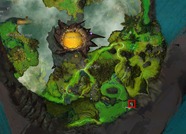
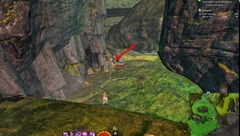
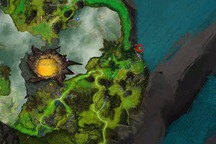
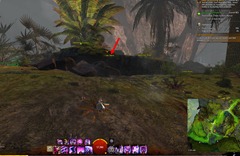
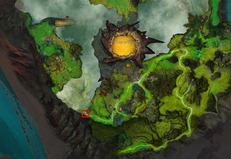
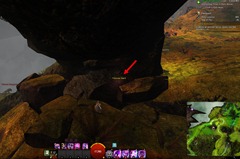
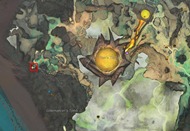
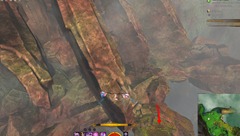
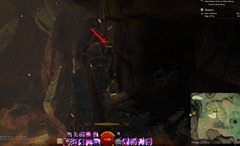
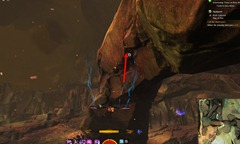
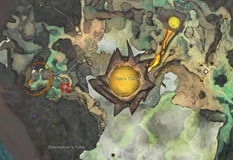
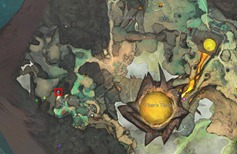
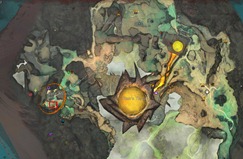
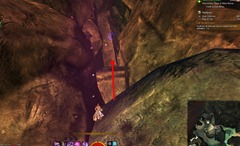
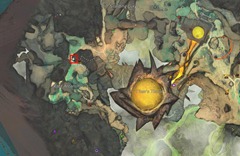
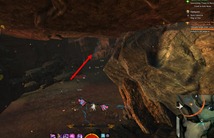
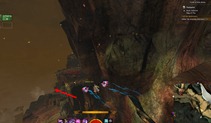
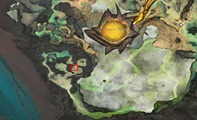
1. Mariner Landing: In a nook high along the western wall.
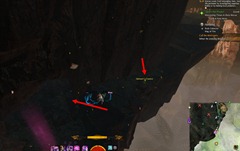
2. Mariner Landing: In plain view near Sub Landing.
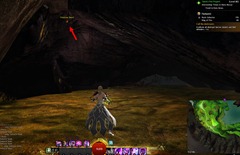
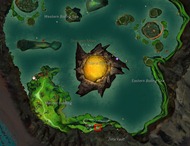
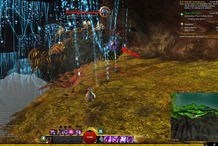
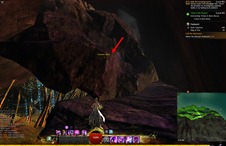
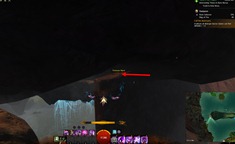
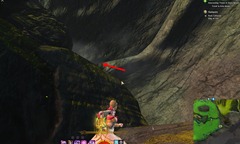
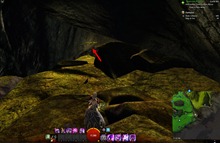
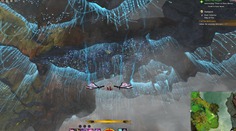
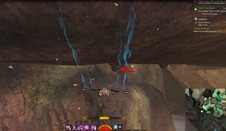
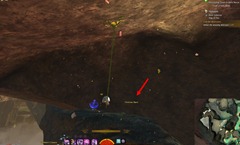
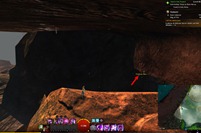
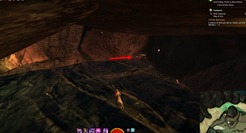
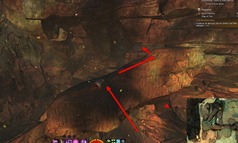
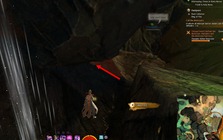
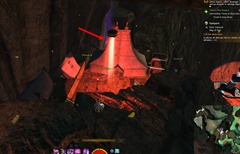
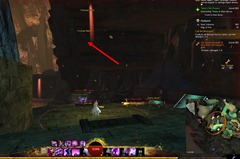
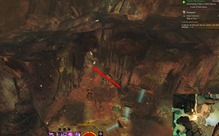
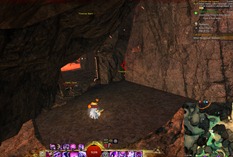
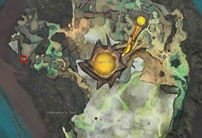
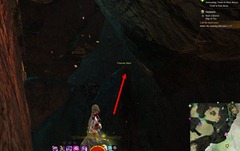
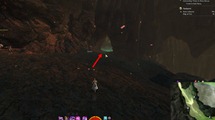
3. Mariner Landing: On the ceiling of a dark tunnel. Reef riders stand guard outside (Mastery Required)
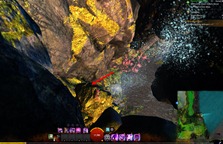
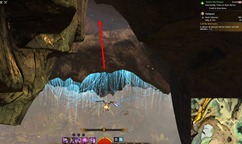
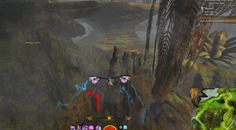
Drop down on the to sea level, you will see a little opening guarded by some Reef Riders. Go in and look up. Use either Oakheart Essence to reach. There are Oakheart essence you can pick up along the way.
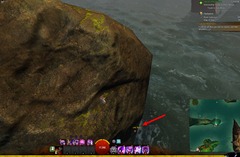
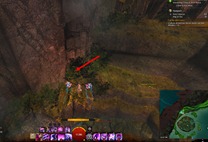
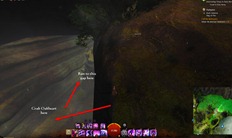
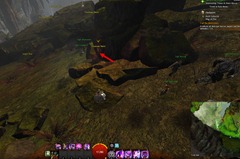
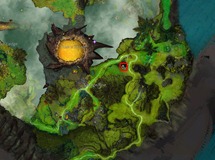
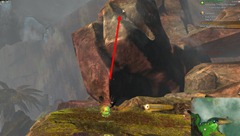
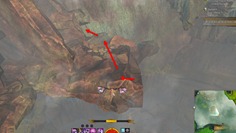
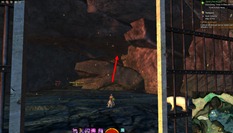
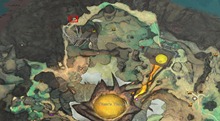
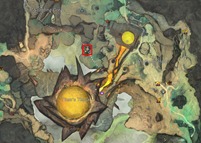
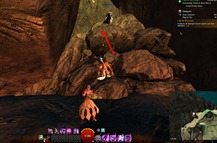
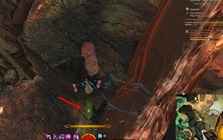
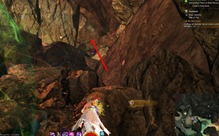
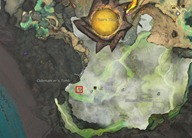
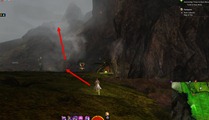
4. Mariner Landing: Atop a diagonal cliff face. Reef riders float nearby.
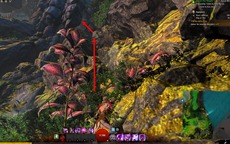
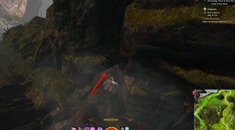
Run up this cliff, you will see a bush of plants at the end. Go inside the plant and you will see a hidden alcove. Jump up to get the Firestone Shard
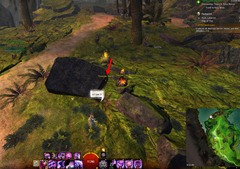
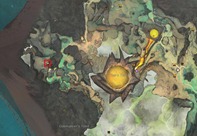
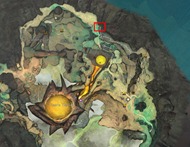
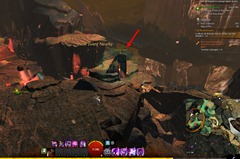
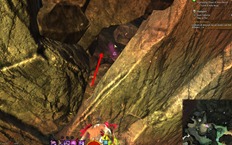
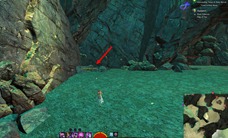
5. Mariner Landing: Near a thermal tube, south of Sub Landing.
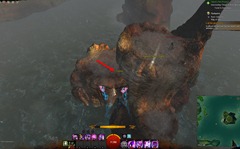
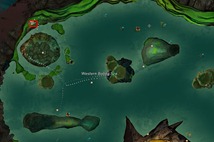
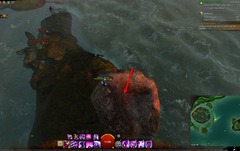
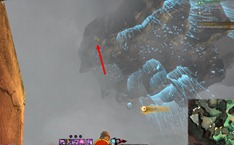
6. Western Boiling Sea: On the underside of Wind Rider Ledge
From the Mariner Landing waypoint, grab an Oakheart Essence and shoot yourself up to grab that updraft near Wind Rider Ledge that will propel you on top of the Ledge.
Once you get on top of the ledge, go the edge near one of the Oakheart Essences and then glide down while looking up at the underside of the ledge for this Firestone Shard. You can use an Oakheart to reach it easier.
7. Western Boiling Sea: On the side of the foot of Wind Rider Ledge
If you are coming from #6, just drop down to the foot of the ledge and glide down slowly to reach it.
8. Western Boiling Sea: Just Below the Mastery Insight.
From Wind Rider Ledge, use one of the updrafts and glide to the little island with the Mastery Insight.
9. Western Boiling Sea: Along a ledge northwest of Seething Pillar.
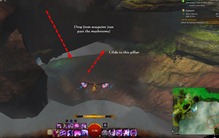
Fly down from the Seething Pillar (you can get there via updrafts from Wind Rider Ledge) and drop down on a small ledge just above the sea level. You will see a bush there with mushroom and the Firestone Shard hidden inside it.
10. Western Boiling Sea: On a stop outcropping east of Seething Pillar.
Can glide down from Seething Pillar or glide from the # 9 spot.
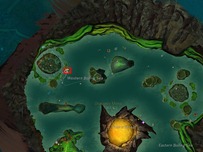
11. Eastern Boiling Sea: On an island northwest of Frothing Pedestal
Easiest is to run east from Ancient Hollow waypoint and drop down.
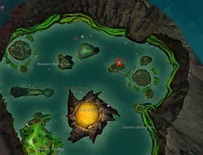
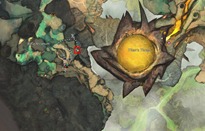
12. Eastern Boiling Sea: On the ceiling of a cave along the northern wall.
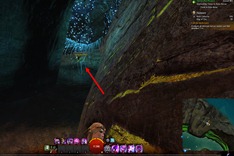
Run east from Ancient Hollow waypoint. Drop down a bit to the pillar structure just under Nu Vault. From the pillars, glide to the northern wall/cliff. There should an oakheart essence along that wall. Run along that wall until you reach the end where you will see a small hole.
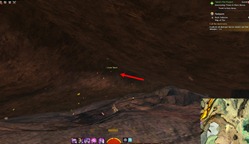
Once you run past the hole, look up and use the Oakheart Essence to reach the Firestone Shard.
Savage Rise/Wind Rider Ledge/Ancient Hollow
Video
13. Savage Rise: In a cave behind the Rolling Devil nest.
From Heathen’s Hold Waypoint, drop down to the 2nd map level in a southeast direction until you see the Savage Rise path. Run towards the map location until you see a little cave entrance guarded by Rolling Devils with Oakheart Essence in front. Grab that essence.
Once you have the essence, go into the cave with the vampire mobs and then use it to grapple you to the little alcove on your top left as you enter the cave.
14. Savage Rise: At the source of waterfall at Peace Grounds (Mastery Required)
For this one, you won’t be able to see it but you can get it simply by proximity. Drop down from Heathen’s Hold Waypoint and then run to Peace Grounds. At base of the waterfall, pick up the nearby Oakheart Essence and use it to grapple yourself behind the waterfall.
15. Savage Rise: Undernearth an outcropping north of Scout’s Clearing
Pretty easy to get, run up from Mariner’s Landing Waypoint
16. Savage Rise: At the entrance to a ramp that leads to Scout’s Clearing.
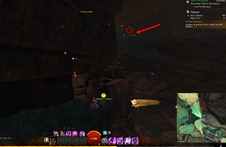
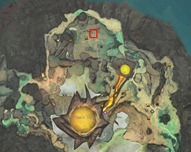
Another easy one, run back from # 15.
17. Savage Rise: Near the base of a massive rocky pillar, southwest of the Peace Grounds.
Watch out for smokescales and pocket raptors along the way.
18. Savage Rise: A cave in the ceiling below Heathen’s Hold waypoint (Mastery Required)
Make sure you have least 2 charges of Oakheart Essence. Run west from Heathen’s Hold waypoint and drop down slowly while gliding east. As soon as you see a cave, use your Oakheart to hang on the ceiling and glide onto the ledge. Once inside the cave, use your Oakheart again to reach the Firestone Shard.
19. Savage Rise: In a cranny with the bristleback’s nest
Drop down from Heathen’s Hold Waypoint and glide all the way to Bristleback’s area. As soon as you enter the little opening that marks Bristleback’s area, drop to the ground and look on your left for a very small opening in the wall. Follow the cranny all the way to the end for this shard.
20. Wind Rider Ledge: In a ceiling cave below Rata Arcanum
From Heathen’s Hold Waypoint, take the two Thermal Tubes that shoot you across and glide towards Rata Arcanum. As you glide towards it, drop down beneath the rock floor holding Rata Arcanum.
You will find an updraft just beneath the rock floor, this updraft will take you to a ceiling cave where you can find the Firestone Shard.
21. Wind Rider Ledge: Near the ceiling along the western wall (Mastery Required)
Much like # 20, you will start from Heathen’s Hold Waypoint and take the two thermal tubes. This time don’t forget to grab the Oakheart Essence after the second thermal tube. You want to glide down below Rata Arcanum’s floor and use the Oakheart Essence skill to pull you up as you glide away from the ceiling. Make sure you have a remaining charge for the Firestone Shard and just pull yourself to it.
22. Wind Rider Ledge: On the northern side, in a ceiling crevasse (Mastery Required)
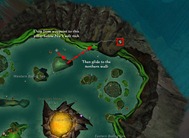
This one is pretty tricky. You basically do the same thing as # 21 but instead glide to the western side where you will see rocks with Oakheart Essences. There is a chain of three rocks with three Oakheart Essences. You start at the bottom one with the Fertile Soil.
Once you arrive at the third Oakheart Essence, start shooting at the ceiling. You will find the Firestone Shard at the top next to an Unbound Magic.
23. Wind Rider Ledge: High along the wall, southwest of Seething Pillar (Mastery Required)
Same thing as # 21 but this time you glide a bit north until you see that big ledge with all the bats and grubs. Use the Oakheart Essence to shoot yourself to this little alcove where you can find the Firestone Shard. If you havn’t doen # 25 yet, you can go straight to that since it is nearby.
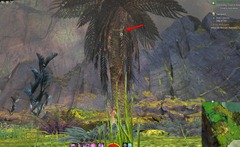
24. Wind Rider Ledge: Embedded high in a large palm tree (Mastery Required)
Make your way to Wind Rider Ledge via updrafts and then use the Oakheart Mastery to get the firestone shard in the palm tree.
25. Wind Rider Ledge: In a cranny above the northern tip of the ledge (Mastery Required)
You can go to #25 straight from #23. Take the left path instead and glide once you reach the end. You will see a cranny to your left that you can use your Oakheart to shoot to.
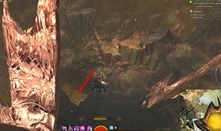
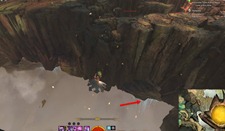
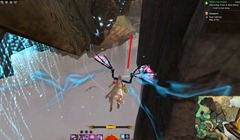
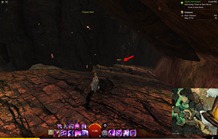
26. Ancient Hollow: Deep in a shallow cave southeast of the golem graveyard.
Previously bugged but fixed with a hotfix. It is inside this shallow spider cave not far from the Ancient Hollow waypoint.
27. Ancient Hollow: in a nook in a wall, north of a mushroom village.
Go straight northeast from Ancient Hollow waypoint
28. Ancient Hollow: Along a path that runs northeast toward a mushroom village.
Pretty simple to locate
29. Ancient Hollow: Towards the western edge of the land mass. Fireflies make their home nearby.
Titan’s Throat/Heathen’s Hold
Video
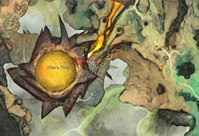
30. Titan’s Throat: Underneath and to the east of the gate of fire
Use the Thermal Tube from Heathen’s Hold and glide left at the end. You are looking for a ledge to the left and right before the ledge is a small cubby hole with this firestone shard.
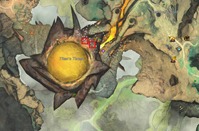
31/32. Titan’s Throat: On the northeastern side, just below the gate of fire.
These two Firestone Shards are pretty much right next to each other, with one lower than the other. Just go to the right after the Thermal Tube and glide down.
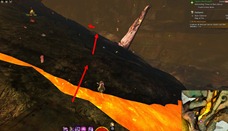
33. Heathen’s Hold: Below the lava river, on the west side (Mastery Required)
To get here take the Thermal Tube from Heathen’s Hold waypoint and then glide down to the west of the lava river. Below you will find an Oakheart Essence.
Once you have the Oakheart Essence, use it to grapple yourself to the ceiling cave nearby where you will find the Firestone Shard tucked in.
34. Heathen’s Hold: High above Prisoner’s Perch, near a Mastery Insight (Mastery Required)
Grab an Oakheart Essence north of the waypoint and start aiming it at the ceiling. It will take two charges to reach it and then you can glide down to the ledge where the shard is.
35. Heathen’s Hold: Atop a plateau above Iota Vault (Mastery Required)
Go towards Iota Vault and use Oakheart at entrance to grapple yourself to the top. On the left are some updrafts you can use to get to the very top with the vampire beasts. The shard is on one of the pillars behind of the veteran vampire beasts. If you do this one make sure you do # 39 at the same time since they are in the same location.
36. Heathen’s Hold: In a mercenary’s bucket
Inside the mercenary camp. Glide and drop down to grab it.
37. Heathen’s Hold: Within a crevasse in Iota Vault (Mastery Required)
At the end of Iota Vault, there is a crevice at the wall that you can use your Oakheart Essence and grapple inside it to retrieve the shard.
38. Heathen’s Hold: Above the entrance to Iota Vault. (Mastery Required)
Go back to Iota Vault again and this time in front of the vault grapple onto the Oakheart and then look to your right for a crevice where you can find this shard.
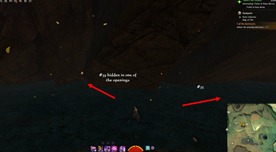
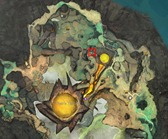
39. Heathen’s Hold: In the rocks on the wall north of Iota Vault.
Same spot as # 35 but this one is to the left on one of the hidden openings. A bit tricky to find.
40. Heathen’s Hold: Under the grating
Underneath the grating by Wurm’s Furnace.
41. Heathen’s Hold: beneath a massive defense turret, on the east shore of the lava river.
Scalding Gorge/Rata Arcanum/Golemancer’s Tomb
Video
42. Scalding Gorge: On a ledge high above, north of Sandstone Archway (Mastery Required)
This Firestone Shard is right above the Mastery Insight and slightly below the ledge with the vampire mobs. Just go the same route as you would for Iota Vault/Vampire mobs for #35/39 and instead of heading to the ledge with the vampire mobs, look on the ledge below it.
43. Scalding Gorge: On a ledge high above, west by northwest of Sandstone Archway
To get to 43, you can fly from #42 and take the updraft southwest of it. The updraft will take you slightly higher over a ledge where this firestone shard is hidden.Cliff bats will spawn when you get to this ledge.
44. Scalding Gorge: On a ledge high above, northwest of Sandstone Archway
44 is basically next to 43. Jump from the ledge where 43 is and start gliding left. You will see a crevice immediately to your left with a bouncing mushroom. Go inside and you will find the firestone shard.
45. Scalding Gorge: Atop a tall stone outcropping, southeast of Sandstone Archway.
Take Thermal Tube from waypoint and glide to this stone. You can use the updraft in between if you need.
46. Scalding Gorge: Hidden below Sandstone Archway, on the eastern side.
You can see 46 from #45. Look at the eastern foot of Sandstone Archway, there is an oakheart essence. Next to it is a small hole you can run through for the shard.
47. Scalding Gorge: On the underside of Sandstone Archway.
Grab Oakheart Essence from outside #46 and just grapple yourself to the underside of the archway.
48. Scalding Gorge: In a silt in the rocks looking north from atop the northwestern arch.
Get yourself on top of Sandstone Archway by using thermal tube from waypoint and then glide/mushroom your way up. Grab the Oakheart Essence on the archway and then sling yourself to the northwestern arch that is diagonal to you. To the west of the arch is a slit you want to glide in and run all the way to the end.
49. Rata Arcanum: In a high nook, east of Seething Pillar
Take 2x thermal tube from waypoint, as the second tube launches you, look for an Oakheart Essence near your landing spot and use that to shoot yourself to this nook.
50. Rata Arcanum: Undernearth a large firestone spire.
Make your way at the bottom of that large firestone spire and you will see a little hole with a bouncing mushroom. Drop into that hole and look at the bottom of the spire to find this shard.
51. Rata Arcanum: In the upper area, atop a small spire.
Below the vista, use 2x thermal tubes from waypoint and just glide to it.
52. Rata Arcanum: In a nook behind the inquest’s captive druid.
Behind the tent with Galebough. Can run/glide directly from #51.
53. Rata Arcanum: Overlooking the inquest’s portal.
Tube/glide yourself to the Inquest portal at the back of Rata Arcanum. Pick up Oakheart essence near the portal and shoot yourself up this ledge next to the portal.
54. Rata Arcanum:A crack in the ceiling in the caves behind Rata Arcanum
Glide/Tube from waypoint and then run into this cave underneath Rata Arcanum. Inside the cave are some mushrooms and an oakheart essence.Grab the oakheart and start immediately aim at the ceiling to get you to an upper cavern.
Once you are at the upper cavern, look up at the crack in the ceiling and shoot yourself again into it. Once you are inside that crack, do a third time to reach the shard.
55. Rata Arcanum: On a rock wall, just outside the entrance to the Inquest Field Lab.
This is is pretty close to the heart vendor, just inside the Inquest Field Lab.
56. Rata Arcanum:In a nook near some soil in the caves behind Rata Arcanum.
Follow the path from #54 to the upper cavern but this time don’t look for a gap in the ceiling. Instead, run left/south towards the grubs and you will come across a nook with some plants and firestone shard hidden behind one of the rocks.
57. Golemancer’s Tomb: In a cave outside the tomb, high above Scout’s Clearing.
Tube/Glide from waypoint and at end of your second tube, glide towards the vista. Then you want to keep gliding to the left, dropping down on the ledges/platforms until you get to a ledge with an oakheart essence.
Near the oakheart essence is the entrance to the cave where you can find the shard directly past the entrance. Use oakheart to get it.
58. Golemancer’s Tomb: Embedded in a wall outside the tomb, high above Scout’s Clearing.
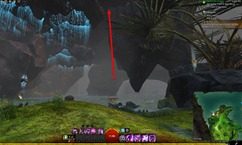
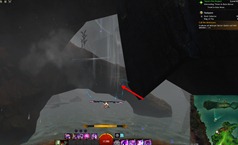
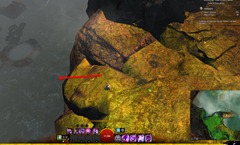
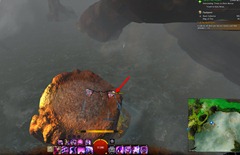
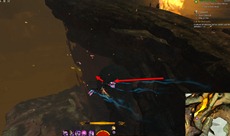
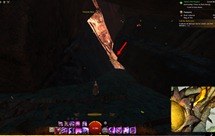
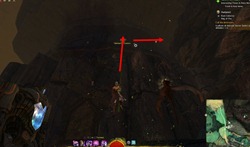
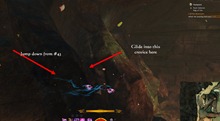
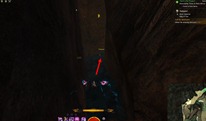
You can get this from #57. Refresh your oakheart essence outside #57 and then grapple on the rocks above like in the pictures. #58 is in a ledge above #57.
59. Golemancer’s Tomb: At the tip of a long, thin outcropping outside the southern entrance to the tomb.
Drop down from #58 onto this outcropping with Broadleaf.
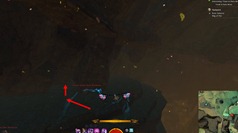
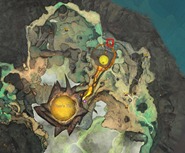
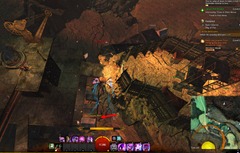
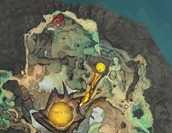
60. Golemancer’s Tomb:In the crack in the ceiling, in the room across from the champion devourer. Bring an Oakheart’s essence.
If you are coming from #59, retreat from the outcropping to find an oakheart essence that will bring you up to the Golemancer’s Tomb.
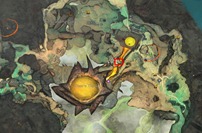
Once you are inside the tomb, look for the chamber marked on the map. Pick up the Oakheart essence and the shard is in a crack in the ceiling not far from it.

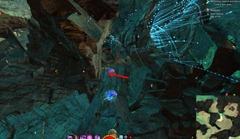
Archived Disqus comments
Dulfy
I have the video for the 2nd part ready to render but need to find where #26 is.
Jeffery Wong
keep going dulfy thanks for video and work:)
Kasper Asmussen
Yeah i found the 26th, you can see it in the wall, but you can’t interact with it.
Eren yiğit
Ty 4 fast share \^\^
Th3Ey3
Anything on the Druid Stone achi coming soon?
narg
Druid stone is easy, 1st. buy from all heart and unbound magic vendor near landing 5x druid stone shard, then u must find 5 Druids ghosts, one ghost is near flax farm, hidden somewhere at first floor, this Druid you give druid stone, and then at every floor are one Druid, which take Primordius orchid
narg
in this hidden cave with first Druid is (not sure now) bristeleback or arrowhead champion, so it should be easy t ofind, and there is flax farm, so it is show at minimap too
Max Durak
Number 60 is in the ceiling in champ devourer. Just follow unbound magic. Requires mastery.
banshee
Actually it’s not exactly in champion’s room. It’s in the ceiling of the room where you can collect Oakheart’s Essence.
narg
btw by following this guide, you will going to places, where are (not sure if all, but possible yes) druids for DRUID STONE coll., and someplaces have LESSON LEARNED Zinn recorders too! so keep eyes open!
Morty
39 is to the left of 35 on the same platform with the vampires http://i.imgur.com/XpDLCru.jpg
Dulfy
Thanks!
MasterT
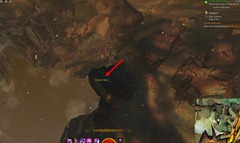
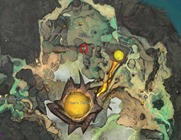
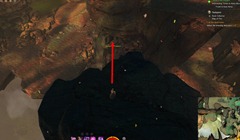
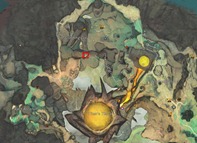
I think i found Number 26 (red spark at the left side of my head) but you cant interact with it and just touching it does nothing so i would say it is bugged.\ https://uploads.disquscdn.com/images/acb0fb86ff2ed07872c24994efec91cff50ac4d6446e9fa660bd0f45cbf5c752.jpg https://uploads.disquscdn.com/images/9b083243b339a86e9a105762aa62cd8963fbed97952528296a0b93e7c26c3423.jpg
Dulfy
Yeah that is the same one I found, unfortunate
Krag
I can confirm.\ Made a bug report on the forums.\ https://forum-en.guildwars2.com/forum/support/bugs/Bugged-Firestone-Shard-in-Draconis-Mons/first#post6574326
VOjta Šostok
I think its 57th . before you will go inside its on the right side . You need to use the mastery to get there. After you will be up on that ledge you should see spireds . Its inside a small cave with spiders.
https://uploads.disquscdn.com/images/0a98bbd183eeb9145ef25d8aa9667d14db2b6434b8730f0609d48a6231345233.jpg .
VOjta Šostok
And next one is above the cave .. a bit more up and left. Easy to ge spoted.
https://uploads.disquscdn.com/images/300acd2c978fdf894051c9f8a1d65d3547322fb3b1adf185f1fd81ab96d895aa.jpg
StoneyB
Dulfy, I love you.
Len
56 Rata Arcanum: In a nook near some soil in the caves behind rata arcanum
len
nvm, cant post image loging system failed
len
http://imgur.com/zJFKkP0 gotta do it this way xd
VOjta Šostok
54th. Looking for hours and then I noticed an unbound magic. Jumped up and .. found it https://uploads.disquscdn.com/images/dfd03de6f37484204182a4974c052d70d0821ab3be81e72428d4039c41556240.jpg
VOjta Šostok
The first one for Rata Arcanum I belive . Its right next to the poi. Not even hard to get . Just from Inqest jumped up to vampire and here it is. Its not even up. Its literally next to Rata Arcanum .\ https://uploads.disquscdn.com/images/37a4f01986af9930b7402acff1aaca5de53faeca6d334e2ae5101de6e7bd7ae3.jpg
Dihas
Are you in the Skelk area? I went to that exact area and couldnt find it
Ki’ran
43. Scalding Gorge: On a ledge high above, west by northwest of Sandstone Archway.\ https://uploads.disquscdn.com/images/44ca12a74a9d34cc98001d3d6298ae9781d36a8e998a2916fbc34a2f727fac97.jpg https://uploads.disquscdn.com/images/3002f91cf3ae4c2e3c0db2cccc347446966fad77df2c631dcb7321fad89d5471.jpg
Go outside 43 and glide to the left around the corner and down further into the wall and you will also see 44.
Ki’ran
47, under the arch, mastery helps\ https://uploads.disquscdn.com/images/40888d4c24a2c0aeb036ca3339fef042636958a1c35c0596f78236bb9705b6fc.jpg
Ki’ran
46, hidden under the eastern side of the arch.\ https://uploads.disquscdn.com/images/04a343cfdcbfdb270913034ccc2193a7bc77ce1df06d6a21d67f59bf2467743d.jpg\ https://uploads.disquscdn.com/images/b8977903ff3f95d77ad751c5a2bff3a05ed20966bd4b906686ff833e59e96773.jpg
Vekerur
I found all (-bugged), poke my if you need one.
Ryno Shawe
I am looking for #50 the firestone spire one. Please
razogh
https://uploads.disquscdn.com/images/0be786d8cddb88c90d019b5395b213dce6b040905678375ae8e8b70512a87acf.jpg
Ryno Shawe
Thx mate. you are awesome
Rippopotamus
Have you managed to find #59 too?
Vekerur
That’s on the ledge with Broadleaf.
Arrakis
Tips for 55, 48, 42 please ? 🙂
Vekerur
55. There is a door next to the rata arcanum heart, its there outside of the door.\ 48. https://uploads.disquscdn.com/images/6128b9bd694b4b67b4933d99e11566467d7d91f7ec0c74ae6274d07951b26ac4.jpg
42. https://uploads.disquscdn.com/images/e20fe303a64ef9f7e80f2f901234ec43b141f5c69fd790b237f41f9615f65323.jpg
Its the top of the area here. (not 100% about this tbh)
Arrakis
Got them, Thank you ! 🙂
Rippopotamus
Gotcha, thanks for the help!
razogh
do you know where 49 is? (Rata Arcanum: In a high nook, east of Seething Pillar.) thx
razogh
I can’t find 49. Rata Arcanum: In a high nook, east of Seething Pillar.
razogh
someone posted 49 below
Ardenwolfe
I knew it. I finally got to that nightmare Golemancer’s Tomb. Got all the achievements there and thought, “Jesus. I hope no stones are around here. Don’t see any.” And flew away.
Sigh.
Evita
Can you describe #48 a bit more? ‘Cause I’m following your instructions and I can’t find my way to it. Really struggling. Thanks in advance.
Dulfy
Video should be up in about 20 mins and should be more clear
Evita
Thank you very much. Really appreciate your effort. 🙂
Morty
Found #26, it’s in that small cave with the spiders, but it’s blocked by walls and i haven’t found any way of reaching it \^\^
http://i.imgur.com/vGGeTv5.jpg (on the right)
Evita
Dulfy also found it. It is shown in the video. But apparently it’s bugged ’cause you can’t interact with it.
Morty
Not the red crystal in front of me, look to the right beyond the wall, you can see the shard name
Evita
Yes I can see the shard’s name. Isn’t the location same as Dulfy shows in the video though? 🙂 Maybe I’m mistaken, oh well. Thanks for posting your screenshot anyways.
Dulfy
Someone managed to glitched into that cave with the shard. It is blocked on all sides with walls and can’t get in. May have to wait for a hotfix
Holly Anderson
https://www.reddit.com/r/Guildwars2/comments/693cuv/the_ultimate_firestone_shard_taco_guide/
Dleit
GW2 Rock Collector Achievement Guide – Scalding Gorge/Rata Arcanum/Golemancer’s Tomb
Hunter Eifert
Thanks for the guide.\ Off topic: If anyone needs help with the Druid Stone, I could be of help there. Got everything and I’m at the second collection by now. Just need to wait a few days for it to be complete because you can buy one fragment for a stone only once per day, per account.\ You can get all five needed fragments at the heart quests and the unbound magic collector in Mariner’s Landing. But you have to wait another day to buy the five fragments again. So, the first collection won’t take long but the second will take three days. You’ll need 3 different runestones by combining a normal one with one of the three essences you’ll get from Wardbough (The boss that spawns in the Eternal Pool after the Vigil escort event), the Restless Arboreal Spirit (Located in Brisban Wildlands as a Hero Point. Take the Seraph Observers Waypoint. You just need to talk to him again if you already did the point) and the Corrupted Vetran Oakheart in the Heartwoods/Queensdale. (It’ll spawn along with an event. Take the Phinney Ridge Waypoint to get there).
Sam
Rock 26 was fixed minutes ago, at same location.\ Thanks for the guide Dulfy 🙂
wQnxy
#39 its iota vault, not iokath; some1 playing too much sw:tor 😛
thanks for the guide =]
Aerinndis Athyrium
From #21 you can just fly down to oakheart essence #3 on the arch instead of going back and repeating path. It was easy from there to get #22 because if you miss you can fly right back down to the pillar and repeat.
Max Jenkins
I just found something amazing on reddit, that makes this 20 times easier.\ https://www.reddit.com/r/Guildwars2/comments/693u5a/ultimate_firestone_fragment_taco_guide/
Ardenwolfe
Bless you for taking the time to post these.
Jay Kay
You can go straight from #21 to #22 by gliding north but you need at least one oakheart essence which means it can be tricky.
Doghouse
#33 Doesn’t need mastery (it doesn’t even need gliding!).
Stand near the wurm pit, and face the lava river. To the right of the river are a couple of bits of broken machinery. Run past those, and drop down the small cliff on the right. Then run left along the ledge until you reach a jagged edge. To your left is an entrance to the cave holding the shard. Run in, hugging the right-hand wall, and the shard should be at the end..
Sylar\^
Do #23 then #25 to save time* …
My Endeavor
You don’t need any of the LS3 masteries, as long as you have high vault Springer and griffon