A guide to the new GW2 Molten Weapon Facility dungeon released with the Flame and Frost Retribution patch. This dungeon is only available until May 12.
Navigation
- Getting there
- Notable trash mobs
- Karma items and Ore
- Mini boss: Weapon Test Engineer
- Boss: Molten Firestorm and Molten Berserker
- Achievements
Getting there
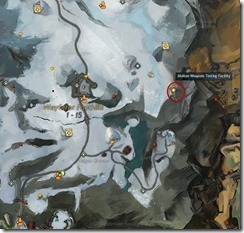
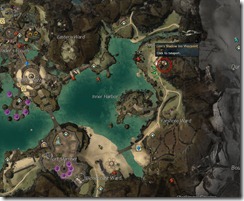
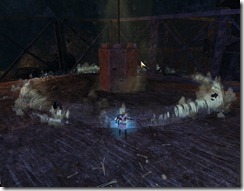
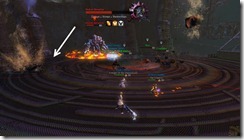
This dungeon can be accessed on east side of Wayfarer Foothills near Vendrake Homestead. The entrance will move around a bit and may not be in the same place as the picture.
Notable trash mobs
There are a bunch of silver mobs that are worth mentioning since they have some unique abilities.
- Molten Protector: Giant red AoE ring that protect all mobs inside it and prevent you from dealing any damage to them. You can drag him out using pull/knockback or just just kite him out of the ring.
- Molten Gunner: Watch out for his flame tornado he shoots out since it has a knockback component if you get hit by it. He will also do a rocket jump that also serve as a knockback when he lands.
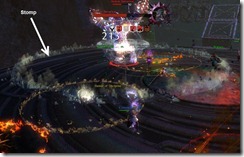
- Molten Brawler: AoE stomp
- Molten Shaman: Throw down little red circles on the ground that you will need to avoid.
Karma Items and Ore
- Ore inside the dungeon respawn 24 hrs after it has being mined.
- There are three karma items you can get inside the dungeon off human
corpses that will reward you with Jug of Liquid Karma when you turn them
in. There is also a cooldown associated with it so you can’t get them
every dungeon run. All three corpses are located in the area where you
need to rescue 10 prisoners
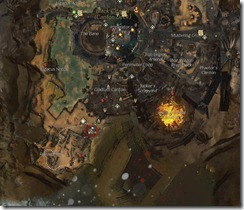
- Crumpled Pages can be found on the corpse on the little house near the first prisoner you rescue. You turn to Sten Veilshredder in Black Citadel.
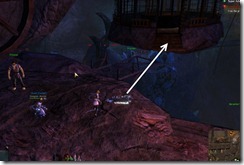
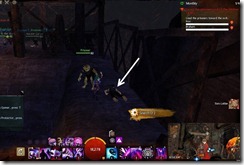
- Crude Drawing can be found on the corpse between Prisoner 6 and 7. The corpse is under the bridge you cross. Turn them to Innkeeper Aela inside the inn right next to Lion’s Shadow Inn Waypoint in Lion’s Arch
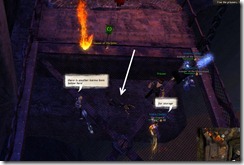
- Torn letter can be found by the body near the end of 10 prisoners. Return them to Yngvald in Wolf Lodge in Hoelbrak (top floor)
Mini Boss: Weapon Test Engineer
Video:
This mini boss can be encounter not too far into the dungeon. It is an easy fight but teaches you mechanics that you will need for the final boss fight.
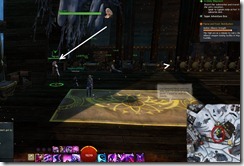
When the Thermal Core in the middle is at 100%, 75% and 50%, Weapon Test Engineer will throw out one of three abilities that you must “pass” before you can damage the Thermal Core. Thermal Core becomes attackable once the ability ends and some adds will spawn. You can safely ignore the adds as they will despawn once the Thermal Core is damaged to the next %.
Tip: Apparently you can stand in the corner by the weapons test engineer during the weapon tests and pretty much not take any damage except the low damage from the shockwaves.
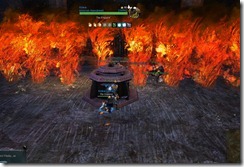
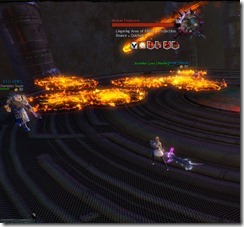
1) Fire wave: You will need to stand in between the fire waves that come through. They can come from any direction and the space in between the fire waves get smaller. One trick you can use is to stand behind the Thermal Core and if you do it quick enough you won’t get hit by the waves. Guardians/Mesmers or any class with reflective field can use them to deflect the waves.
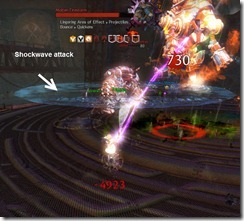
2) Stomp Shockwave: This is the easiest ability. All you need to do jump whenever the shockwave comes to you. If you stand in a corner, you will only get hit by the nearest shockwave and the damage is very minimal.
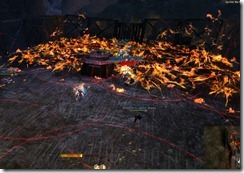
3) Fire circles: This is the toughest ability and you will probably take the most damage from this. There is a bit of travel time before the fire actually land in the circle so you can run through a red circle safely if you time it right. Where these circles will land is fairly unpredictable so you just have to do your best to avoid them.
At 25%, the Weapon Test Engineer will throw all three abilities at you and at this point it is a DPS race to kill the Thermal Core (which is now attackable) before you are killed.
Final Boss: Molten Firestorm and Molten Berserker
Video:
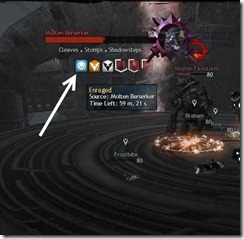
General Strategy: This fight is fairly tricky and requires good coordination between your group members. For every 25% you shave off one boss’s HP, the other boss will gain 50 stacks of enraged buff that increase his damage output. Once one of the boss is killed, the other will fully heal (any dead party members will also instantly revive) and the fight changes again with some new mechanics added to the remaining boss. Based on our experience with this fight, it is must easier to kill Molten Berserker first and then leave Molten Firestorm to last as Molten Firestorm is much easier to deal with.
Fight Strategy: The way we deal with this fight is to damage Molten Berserker to 75%, switch to Molten Firestorm to remove his 50 stacks of enrage (every hit remove one of his stacks) and then switch back to Molten Berserker to damage him further. Repeat this process at 50% and 25%. If you can super confident about your group’s ability to dodge fire circles, you can just burn down Molten Berserker and ignore Molten Firestorm’s enrage.
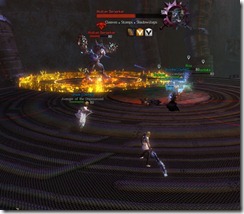
Molten Firestorm (Dredge): Molten Firestorm will throw down quite a few fire circles which are easy to avoid. Some of his attacks (large red circles) do have a knockback component to it. He will also apply a Burning debuff that you will want to remove to lessen the damage.
Molten Berserker (Charr): Molten Berserker, on the other hand, have stomp and shockwave attacks that are deadly at close range and will teleport to random party members. It is crucial that you stay at max range from Molten Berserker and jump to avoid his Stomp. His shockwave attack is harder to avoid but you won’t take any damage if you are at max range from him. Make sure to run away when Molten Berserker teleports to you as he loves to do his Shockwave attack right after which can one shot some players.
Leaving Molten Firestorm alive: If you kill Molten Berserker first, Molten Firestorm will create a smaller ring that you must fight inside while dodging his fire circles. If you get knocked outside the ring (i.e. failure to dodge his large fire circle with knockback) , there is a chance you will get knocked off the platform but you can make it back inside the ring by using dodge or blink like abilities.
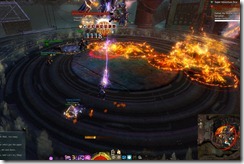
Leaving Molten Berserker alive: For whatever reason you decide to keep Molten Berserker alive, he will gain some additional mechanics that you need to pay attention to. He gain a new fire ring attack that will basically one shot anyone that didn’t dodge it. You can avoid this attack by standing as far away from him as you can. At the same time, you will see red circles on the ground that mark locations where rocks will fall from the sky. If you get hit, you will take damage and get knocked down.
- Note: I was told that you can stack inside the Molten Berserker and melee away. It neglects all the damage from the the boss and make this fight really easy. It might be considered an exploit so use it at your own perils.
Note that the boss chest drops some very nice loot (chance for a Molten Jetpack or infinite tonic recipe, or a mini Molten Firestorm pet and the chest doesn’t have a daily cooldown so you can farm it nonstop until May 12.
- It also drop some chef recipes.
Achievements
You can get the achievement Rage Against the War Machine as soon as you complete Molten Weapons Facility.
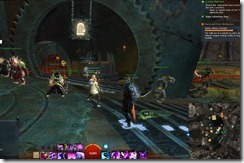
Avenger of the Dispossessed achievement can be obtained once you have completed the dungeon as well You will need to talk to Rox and Braham after the dungeon at Black Citadel and Hoelbrak respectively.
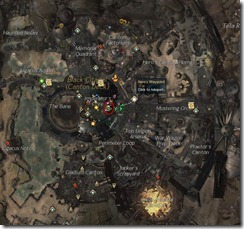
Rox can be found in Black Citadel right near Hero’s Waypoint. You will find this entrance on the ground floor and take the stairs down to enter the stockades.
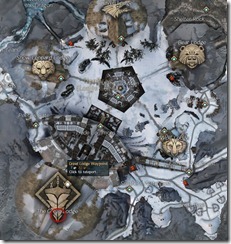
Braham can be found in Hoelbrak at the end of the Great Lodge.
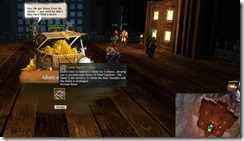
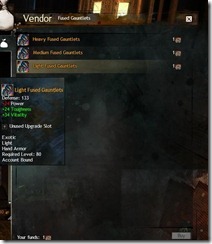
Completion of Alliance Breaker , which require to complete the following achievements in Living Story, will reward a Fused Gauntlet ticket that you can exchange for a Fused Gauntlet (exotic gloves with skins shared between light, medium and heavy armor classes) at a vendor you summon by using the ticket
- Refugee Volunteer
- Lost and Found
- Secret Contact
- The Gathering Storm
- Avenger of the Dispossessed
Lastly, the achievement A Rallying Flame , will be available from May 12 to May 16 exclusively.
This achievement can only be earned during the epilogue, which starts on Sunday, May 12 at 12:00pm Pacific and remains active until Thursday, May 16 at 12:00am Pacific. You can earn this achievement by interacting with a bonfire in either Lion’s Arch, Hoelbrak, or the Black Citadel.
Archived Disqus comments
Vayca
I just wanted to mention, i found a 3rd Karma scroll which has to be delivered to a guy whose name i honestly can’t remember in Hoelbrak’s Wolf’s Lodge. U can find this karma corpse on a side ledge besides the ramp exiting the room u got into after finding the karma corpse under the bridge. I hope that was precise enough.
Dulfy
thank you I will keep an eye for it next time I am in the dungeon 🙂
Vayca
You’re welcome, good luck 😉
Kuripari
It’s near the end of the 10 prisoners, as you pass up a ramp, you head towards the right onto the wall.
fictitiousacct
here’s the 3rd prisoner and what he drops 🙂
fictitiousacct
oops didn’t show, but you return it to Yngvald in Wolf Lodge in Hoelbrak
Dulfy
ty added 🙂
Trii
Torn letter to Yngvlad
Ares Zax
It might also be worth mentioning that the Jugs of Karma given out as rewards for the items in the dungeon don’t stack with the normal Jugs of Karma from Dailies.
Ares Zax
Also, will you be putting together a list of all the different recipes obtainable in the dungeon, dulfy? Like you did for the Wintersday recipes?
Dulfy
Yup, I will try 🙂
Dulfy
Here you go: http://dulfy.net/2013/05/01/gw2-flame-and-frost-retribution-new-recipes/
Arkedi
It might be worth mentioning that while fighting the Molten Berserker in the end, you can avoid his fire ring attack by timing your jump well.
Dulfy
Yes you can but if you didn’t time your jump properly it is an one shot. 🙁
Killyox
engineers flamethrower is nice for removing those enrage stacks
julien576
Hello all!\ We found this trick : we let molten berserker alive and found that to avoid or take less damage from its fire ring attack you can stand under him (in the red circle). Doing so, we have managed this boss pretty easily.
Redjade
More specifically, stack “inside” zerker, and melee away. Its shockwave attacks, including the fire one, will do no damage. This is more of an exploit however, so unless you are doing a speedrun, probably not the best approach as it would make the zerker in phase 2 completely kitten.
the_void
Apart from this instance, is there anywhere else to obtain Azurite Orbs and Crystals in the game? Do Azurite Shards exist?
Ares Zax
Doubtful, as only Insignia/Inscriptions for T5 and above exist. Word from my guildies is that only Mithril/Ori nodes inside the Molten Factory dungeon drop Azurite gems; normal Mithril/Ori nodes in the open world do not. This is also backed up by the fact that Sentinel gear does not seem to drop in the open world either. It seems that the Molten Factory is the only place where Sentinel-related gear can be found.
Personally though, I hope that ANet adds it to all areas of PvE. It seems pretty silly to have Sentinel gear and Azurite gems available only as a one-time content.
Kouta
is it possible to get hte gauntlet more than once? (with more char ofc)
Dulfy
Nope
Ares Zax
dulfy, can you confirm if the Mithril/Ori nodes in this dungeon are account-based or character-based? The wiki says the nodes are account-based and reset daily, but that’s the only place I’ve seen mention it as being account-based. All other Mithril/Ori nodes throughout the world are character-based.
Dulfy
Yes they are account bound. Asked a couple friends who were farming and they confirmed
Ares Zax
Dang… So much for my plan on farming up a bunch of Azurite on the weekend then. 🙁 Thanks for the reply!
relic
You can also add small details about the orihalcum ore. The first one requires backtracking in the area after the tunnel to get to the upper level of the cave if you get a spawn that is on the ledge. The other one has masher traps that will get your grouped killed trying to mine it, highly amusing.
Ghisteslohm
We killed the Firestorm first because we found it much easier to just ignore the melee guy. Just have to dodge or jump trough his waves.\ Firestorm always secured our deaths if we got downed so we had to take him down first.
The improved berserker is really easy. His One-Shot is VERY slow and you see it coming by miles and then you can just dodge through the firewave
Awesome boss battle.
But great guide again 🙂
hurkal arghast
Dulfy a fast and easy strategy that me and my guild discover to kill the lasts bosses is:kill first the firestorm(he do more damage) and after when the berseker is alone go under him,in the red circle,and stast doig dps,with this trategy he dont telepot and HE DONT HIT U WITH aoe,h perfect for who hate jump and dodge,only problem is that he have some second of invulnerabily when he do fire circle \^\^\ By Hurkal Arghast\ Guild bloodstone keeper [blos]
hurkal arghast
Sorry for my bad english 😛
Figoli
Everyone do it.
hurkal arghast
is not true,many people didnt know it, i posted this 7 days ago,not yesterday
Adam Beauchamp
i think he was agreeing with you saying “everyone should do this”
the_void
Are you going to compile a list of entrance-exit pairs? Like for the 1st one, entrance & exit was east of Vendrake’s homestead waypoint and west of Oldgate waypoint respectively. And for the 2nd, it was west of Oldgate waypoint and west of Crossroads Haven waypoint respectively. For the third one, it’s northwest of Halvaunt waypoint and… (I don’t feel like running the dungeon a 3rd time, so I don’t know the 3rd exit).\ I noticed also that the 1st exit is near the 2nd entrance, and the 2nd exit is near the 3rd entrance.
Pingback: Historia viviente, ¡el tiempo se acaba! Descubre como completarlo todo de forma rápida | Freakteando ()