GW2 Professor Portmatt’s Lab jumping puzzle guide with detailed explanations and video walkthrough. Professor Portmatt’s Lab is a jumping puzzle on the western portion of Bloodtide Coast, beneath an island called Sorrowful Sound. There isn’t any jumping involved in this puzzle. Instead, you have to solve a crazy asura’s puzzle.
Puzzle Start
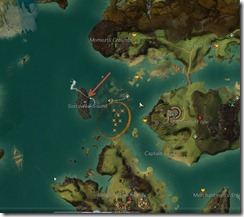
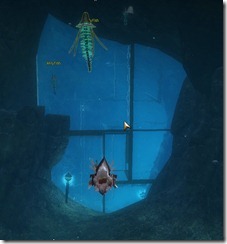
Head to Sorrow’s Waypoint and swim west towards Sorrowful Sound. You will see a glass looking structure deep in the water. Swim towards it. If you can’t get past the windows, wait a second or two and the windows will disappear.
Puzzle walkthrough
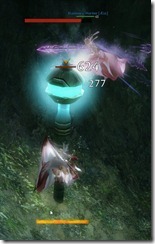
Step 1 : Clear out the lighting turrets in the room. They like to shoot lighting balls at you while you attempt the puzzle. If you are lazy, just clear out the ones near the console and ignore the ones in the back.
Step 2: Destroy the lighting post. This will allow you to use the console nearby.
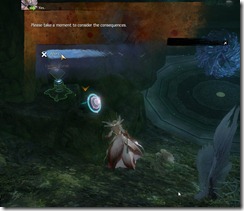
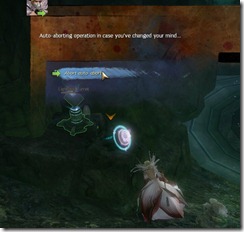
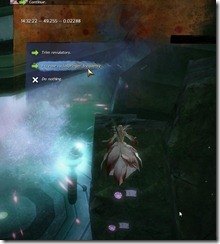
Step 3: Use the console.. when you get this stage, don’t click on abort, just wait and dialogue will continue. You do have to click pretty fast once you get to the 2nd dialog window below as otherwise the console will auto-abort and you will need to kill the lighting post again.
Step 4: Solve the console at the right. NOTE that you cannot go through the portal someone else set. You have to set the portal yourself or wait for the other person to get to the puzzle chest and transmit their coordinates to the portal.
The solution is posted on the wiki but I re-wrote it as I found it pretty confusing the first time I went through it.
You will find three buttons on the side along with a sequence of three numbers. The correct sequence is
14 .xx.xx- 49 .xx- 0.02xx
By using the buttons, you will need to adjust the numbers to match the sequence and then go into the portal. Changing numbers is a matter of clicking the buttons but you have to becareful which buttons you use as each button changes more than one number in the sequence.
There are three possible numbers for each part of the sequence, listed in increasing order.
| 1st position | 2nd position | 3rd position |
|---|---|---|
| 2.xx.xx | 28.xx | 0.01xxx |
| 8.xx.xx | 49.xx | 0.02xxx |
| 14.xx.xx | 65.xx | 0.03xxx |
There is a very simple trick for solving this puzzle:
a) Change the 2nd position in the sequence to 49.xx by using the middle button (use Enhance anti-grav field fabrication if the 2nd position number is 28 or Reduce rampulative induction if the 2nd position number is 65). If it is already 49.xx, then skip this step.
b) Check the 1st position in the sequence, if it is not 14.xx.xx do the following
On the middle button, press Enhance anti-grav field fabrication . Now go to the bottom button , click on Boost magneto-harness magnitude . This will change 1st position number to something else while keeping the 2nd position number the same (49.xx). If the 1st position number is still not 14.xx.xx, then do this one more time and it should set it to 14.xx.xx.
c) Check on the 3rd position in the sequence, if it is not 0.02xxx do the following
On the middle button , press Enhance anti-grav field fabrication . Now go to the top button , click on Increase cyclospringer frequency. If the number is not 0.02xxx, repeat one more time.
If you want to know why this trick works, read on.
Middle and buttom buttons change numbers in each position of the sequence in opposite directions (i.e. cancel each other’s effects) when you press “up” except for the 1st position. This will switch the number in the 1st position to something else. If you don’t get 14.xx.xx the first time, you will get it the 2nd time when you do this.

Similarly, pressing the middle and top button “up” options change the numbers of each position in the sequence in opposite directions except for the 3rd position.

Just for reference, each button does the following to the sequence when you press their “up” (Increase, Boost, Enhance) or “down” (Trim, Reduce, Throttle) options. + is the up arrow and – is the down arrow in the images above.
| Up | Down | |
|---|---|---|
| Top Button | – – – | + + + |
| Middle Button | + + 0 | – – + |
| Bottom Button | + – + | – + – |
Archived Disqus comments