GW2 Deimos Raid Boss Guide. Deimos is the last boss of Bastion of the Penitent Raid Wing.
Contents
General
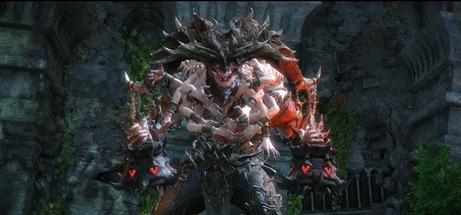
Deimos is the fourth boss of the raid wing and is considered to be the hardest boss. He has several mechanics that are very unforgiving and can wipe the raid if not executed properly.
- HP: 36 million
- Enrage Timer: 12 Minutes
- Class Composition: A healing Tempest or Ventari Revenant can used as a kiter
The fight is divided into three phases, with most of the action occurring in Phase 2.
- Phase 1: Prefight phase before Deimos spawns
- Phase 2: Deimos: 100-10%
- Phase 3: Last 10% of Deimos
Video
The videos below contain vulgar jokes that is not suitable for everyone, you can mute the audio if that offends you.
Druid PoV
Condi Ranger PoV
Phase 1: Pre-Deimos
Deimos doesn’t spawn right away. You will need to do a little pre-event to get the boss to spawn.
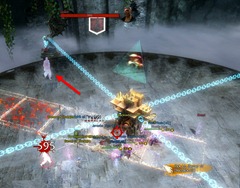
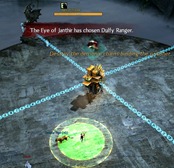
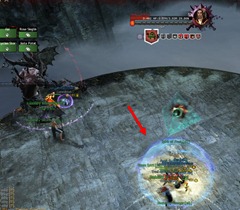
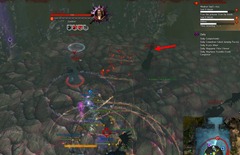
In the middle of the room is a Shackled Prisoner surrounded by four ghostly chains. Ghosts called Greed (small) and Pride (large) will start spawning from edge of the platform and walks towards the Shackled Prisoner. If they get close to the Shackled Prisoner, they will damage it and can cause the event to fail if the Shackled Prisoner runs out of HP. The main ghost you should be worry about are the Pride ghosts as they can deal quite decent damage if not killed. The goal here is to break the four chains before the ghosts kill the Shackled Prisoner.
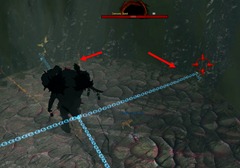
To break down the chains, a random person in the raid will get a green circle. This person with the green circle can teleport raid members to an underground area where players can break the chains. Generally we send down 4-5 players down there depending if the person with the green circle is a DPS or not. Each DPS should be assigned to one of the Demonic Bonds and kill them evenly. Condi classes are best for this as they can stack their condis on the Demonic Bonds. Once one of the Demonic Bonds is killed, everyone that was below get teleported up so you will want to kill them roughly around the same time so you don’t have to repeat the teleport. While killing the Demonic Bonds, a shadow form of Deimos will target random players and slam the ground with a light orange triangular telegraph. Players targeted by this slam need to either move away or dodge at the right time to prevent from getting knocked off the platform and die instantly.
Phase 2: Deimos
Deimos will jump down once all four chains on the Shackled Prisoner are broken and start the main fight.
Saul D’Alessio
Saul D’Alessio will spawn as a friendly target after the Shackled Prisoner get free up. He will join the fight against Deimos and spawn domes to protect your raid against the Mind Crush mechanic. He does get damaged by Pride and Greed adds at near the end of the fight so you will need to throw a couple heals up his way near end of the fight to make sure Saul doesn’t die and fail the event.
Annihilate
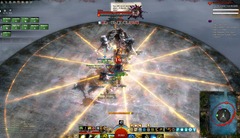
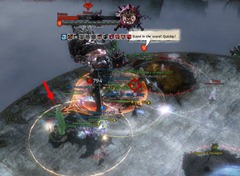
Deimos’s signature attack is the Annihilate, a 360 degree attack with a large visible telegraph. You will need to time your dodge to dodge exactly when his dual flails hit the ground towards Deimos. Getting hit by this flail will knock you back quite a distance, which can be a certain death if you are near the edge of the platform. Tank should drag Deimos to the edge of the platform to give more space on the platform for the Soul Feast kiter and the black circle mechanic later on.
Soul Feast
Similar to the flak mechanic on Sabetha, the furthest person from Deimos will get targeted by this Soul Feast and need to kite it around the platform away from the main raid. This person will periodically get a DoT from Deimos which lasts 5 seconds and they will need to run around to drop the Soul Feast circles on the ground. During these 5 seconds the kiter will drop one AoE on the ground per second.
These AoEs do hurt if you step on them and the kiter will get targeted by Demonic Tears that are in the fight so they will take constant damage. Healing Tempest or Ventari Revenant seems to be best roles for this job. Additionally, if Deimos get hit by the Soul Feast, he will gain a stacking buff called Devourer that increase his damage by 2% per stack.
Demonic Tears
Demonic Tears spawn periodically in the fight area as white circles. If these are not claimed, they will start shooting at members of the raid. This can be extra damage on the Soul Feast kiter. Any raid member can run into it and claim the white circle, giving themselves a debuff and a minor DoT. While this debuff is active the same person cannot claim another Demonic Tear for 60s. The person with the debuff will have a poison skull icon above their head.
These Demonic Tears may not seem much at the beginning but near the end of the fight it is crucial to claim these Demonic Tears to prevent extra damage on the raid.
Mind Crush
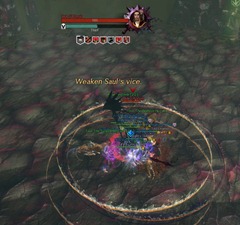
Mind Crush is a raid wide AoE that can down you instantly. Periodically, Deimos will spin his flails in the air. Saul will spawn a transparent dome in the middle of the room under the Eye of Janthir and tell you to get into it (“Stand in the ward! Quickly!”). You need to get into this dome to negate the attack but Block skills also work (not invul or evade). This is handy for challenge mote since Saul won’t be there to spawn the dome for you.
The Soul Feast kiter will also need to get into the dome or use their own blocking skills. This can leave some Soul Feast AoE under the raid so the kiter should try stay at one side of the dome away from rest of the raid.
Green Teleport (75%)
The green circle teleport strikes again at 75%. This time everyone except for the tank and the Soul Feast kiter should get on the green circle to be teleported down below. During this time the Mind Crush mechanic will still occur up top so the kiter and the tank should beware of this. If the kiter get the green circle, have a backup kiter to stay out and kite.
All the players that got teleported below will need to defeat the Thief version of Saul D’ Alessio. You just need to beat Saul to 50% and everyone will get teleported up. During this fight Saul will have break bars you need to break to prevent him from stealing your boons.
Once the main group get teleported back up, all the Soul Feast circles will move up to Deimos and get removed. You are invulnerable for a few seconds after getting teleported up but you still need to dodge the moving Soul Feast circles. You will need to finish off Saul up top after getting ported up.
Black Circle (60%)
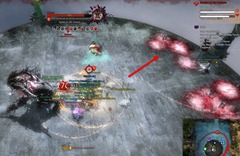
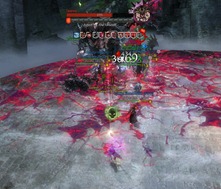
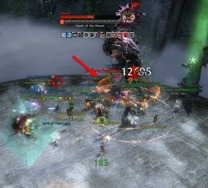
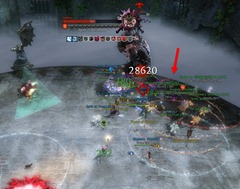
Black circle is the deadliest mechanic on this fight and starts to appear starting at 60%. This mechanic can wipe out your entire raid if not handled properly. The black circle is first telegraphed as an orange circle before appearing as a small black circle. If any raid member step into this black circle, it will expand in size. What usually happens is that this causes a chain reaction that quickly snowballs into a wipe as the black circle will expand to other raid members and so on, until the entire platform is covered in black goo that quickly wipe your entire raid.
The black circle always spawns on the location of the second closest person to the boss and there won’t be more than two up at a time as the first one despawns before the third one shows up.
Green Teleport (50%)
There is another green teleport at 50%. Again, the kiter and the tank stay up top and everyone else take the teleport. This time you will encounter the Gambler version of Saul. You get to damage Saul for a short duration before he split into four copies and you need to locate the one holding the Matthias staff. That is the real copy of Saul. Killing it will cause other three clones to disappear.
Once you push Saul to 50%, you will get teleported back up again. You will need to do the same four clone mechanic up top to kill Saul. Be very careful when you are killing Saul to not drop black circles in the middle where the protective dome for the Mind Crush mechanic spawns or otherwise you may get a black circle and the dome at the same time, effectively wiping your raid.
Pride and Greed (40%)
Starting at 40%, Pride and Green ghosts will spawn again and attempt to walk to the the friendly Saul. You will need to make sure Pride ghosts do not reach Saul as they can deal massive damage to him and cause you to fail the fight. Focus your DPS on the Pride ghosts first and use immobilize if necessary to slow them down.
Green Teleport (25%)
The final green teleport occurs at 25%. This time you are fighting the Drunkard version of Saul. This Saul isn’t too different from the 75% Saul but you will need to break his bar quickly as he teleport raid members to random locations otherwise. This is especially lethal past 50% as Saul can teleport raid members into the black circle, causing a raid wipe.
Phase 3: Deimos (10%)
Phase 3 of the fight starts once Deimos reaches 10%. There will be a 20s of dialogue and the entire raid will get teleported to the underground chamber. This time Deimos will be inside a wall and has four main attacks
- Soul Feast (kiter should keep kiting Soul Feast)
- Fist slam (this causes knockback)
- Black circles (can still wipe the raid here)
- Demonic Tears
Black circles will still get dropped on the 2nd closest person to Deimos and the Fist slam knockback is proximity based so if you are ranging Deimos from far you should not get hit by the knockbacks. Just be extra careful about the black circle and you should kill Deimos fairly easily.
Acknowledgements
Special thanks for members of the [zQ] progression team and Rubik for writing up the initial draft of the guide.
Archived Disqus comments
nadrian3k
The visual design of the boss is pretty sick…i give them that.
Trillium
shame about 1% of the playerbase will see them, minis notwithstanding
nadrian3k
Yup..exactly my thoughts.
Zhaife
cute made up percentage
Alot
With other stuff going on in RL, I recon it will be about a year before I beat this. That’s a nice target for an mmo \^\^
Piscore lp
The real shadow when D’ Alessio divide in four is the one who have the Matthias Staff skin.
Noob
Is the Soul Feast damage reduced by toughness and protection?
Sergio Rhapsodos
Yes, our Tempest kiter confirmed that with 40% prot it is reduced.
Answerer
This boss is such a handfull, but his weapons look like handy. I wish I could be that handsome